If you used nip2, there’s a nip4 for nip2 users post which runs though the main differences.
I’ll write a “nip4 for nerds” post next week introducing nip4’s programming language.
Background
nip4 is a free spreadsheet-like GUI for the libvips image processing library with binaries for Linux, Windows and Mac. You can use it to build image processing pipelines and then execute them on large datasets. These pipelines can get quite complex — I’ve made systems with over 10,000 operations chained together.
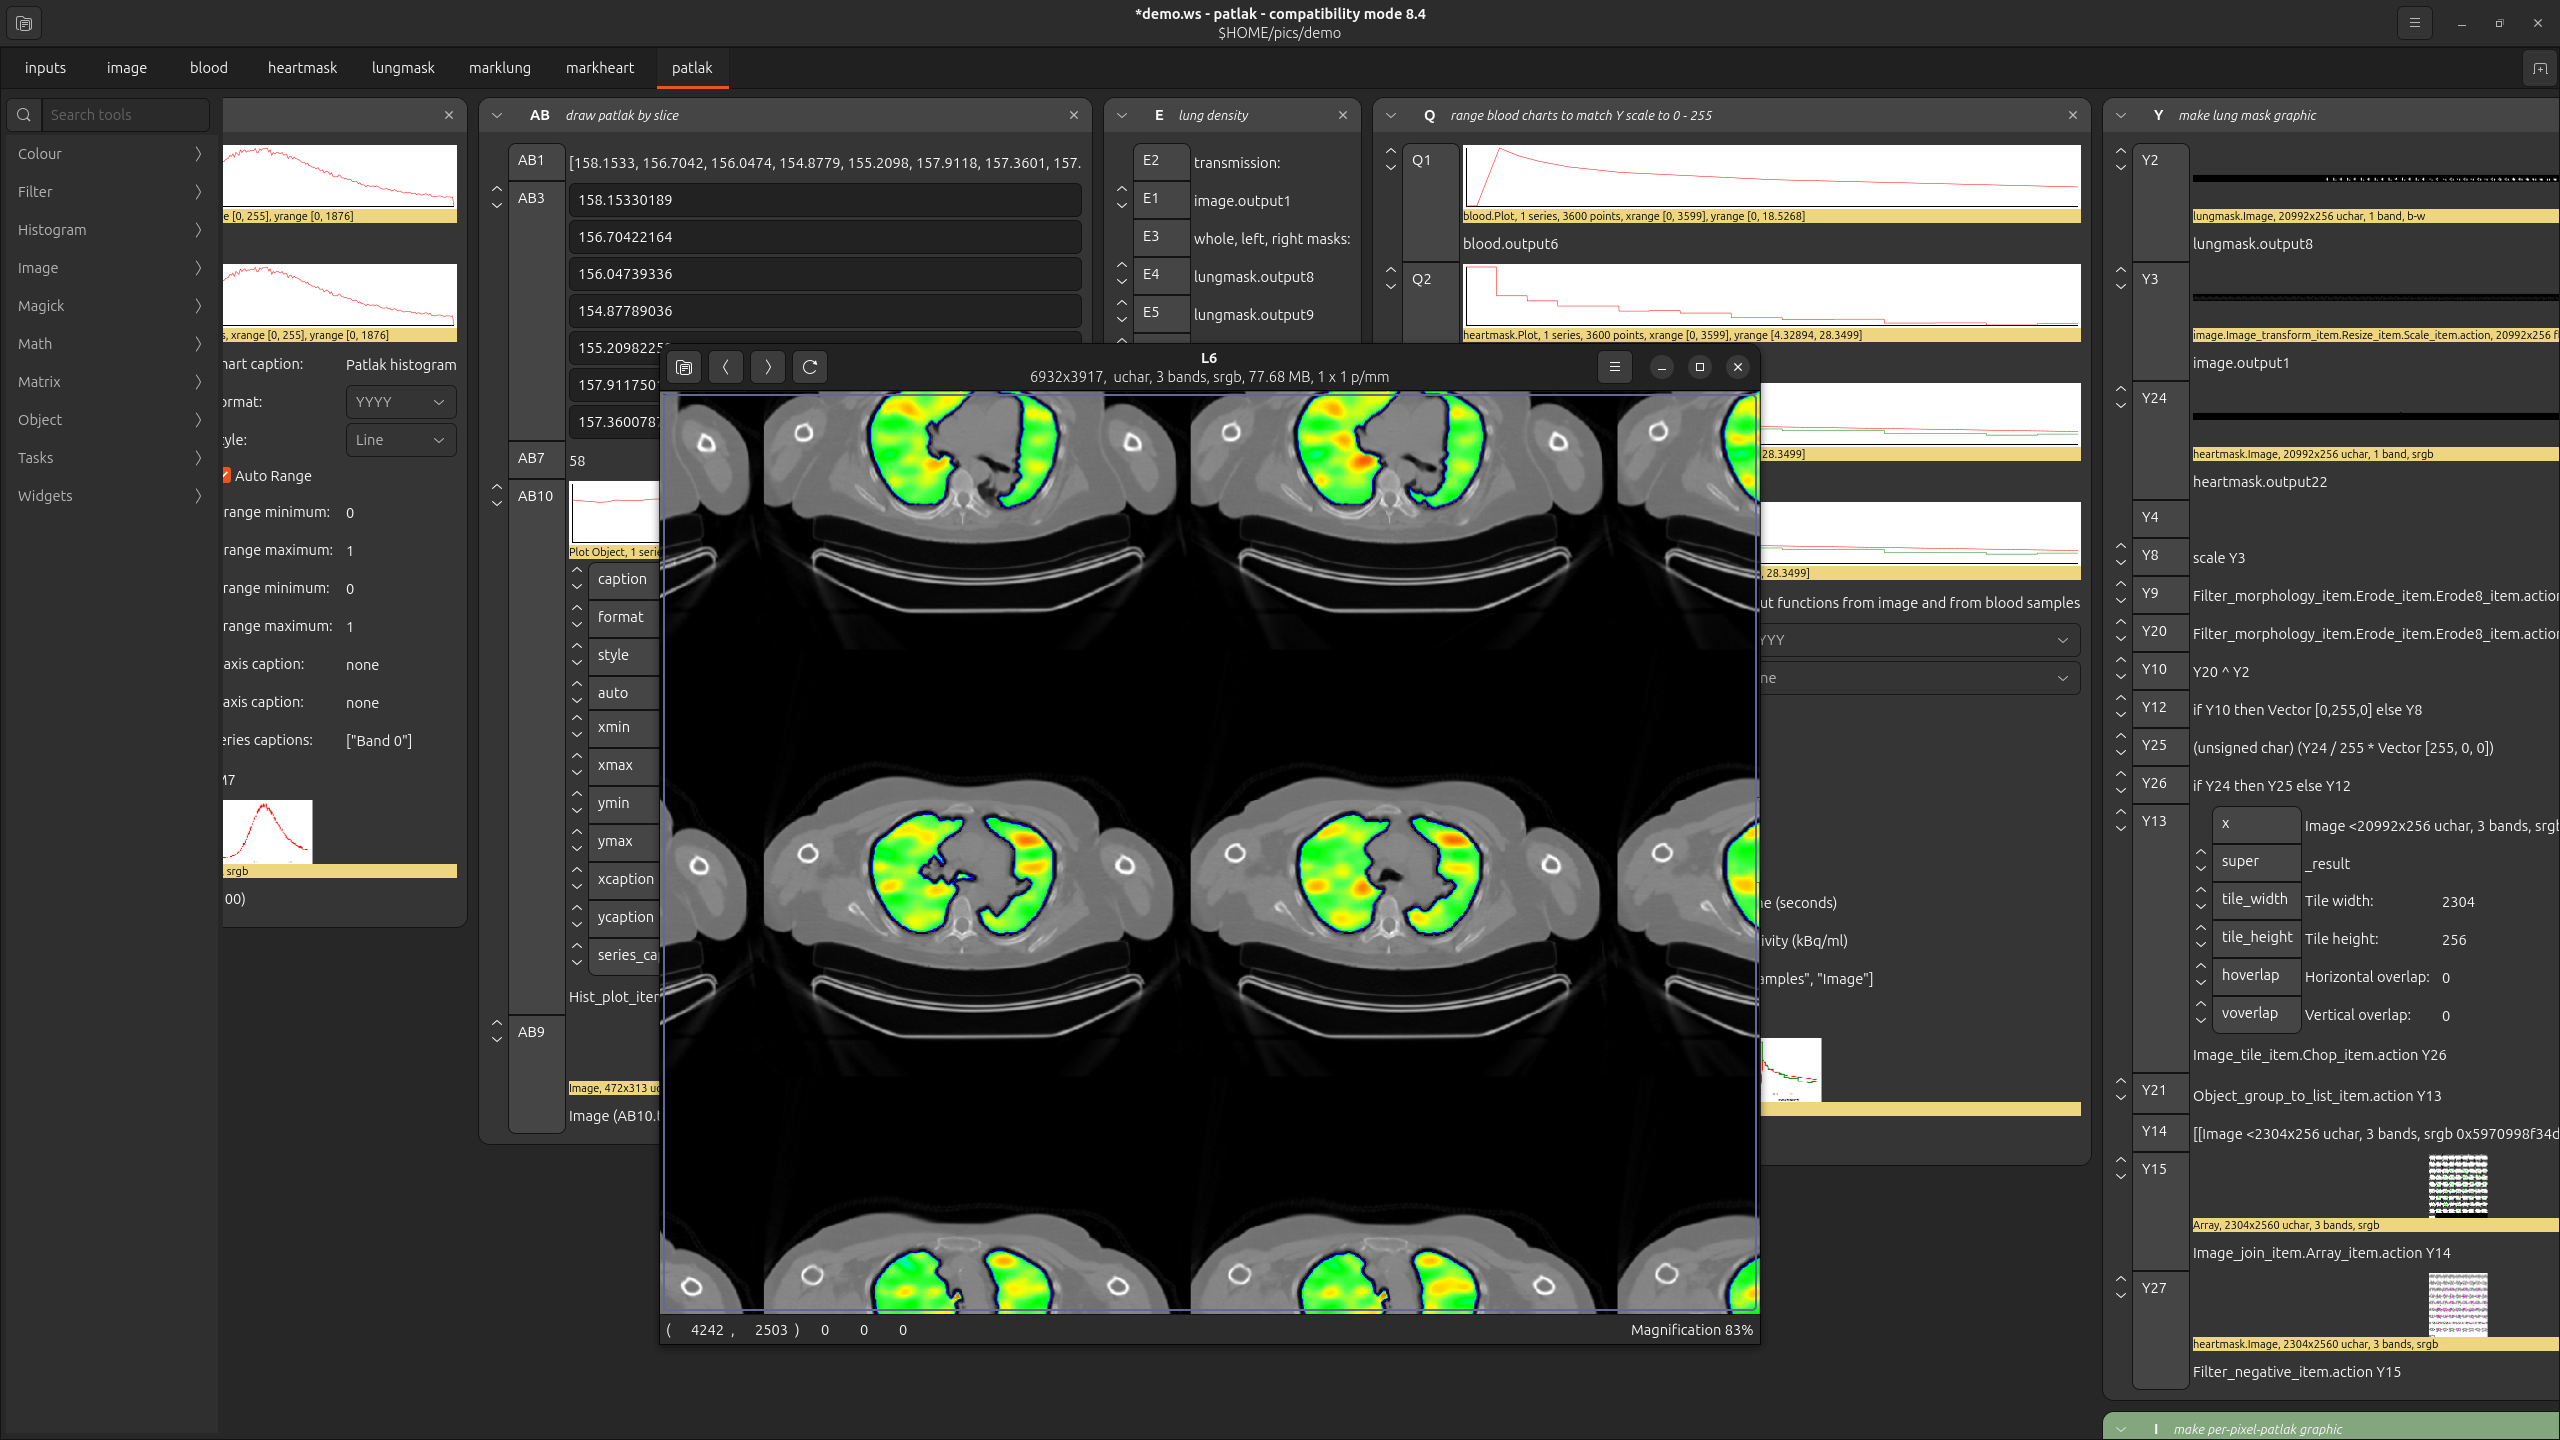
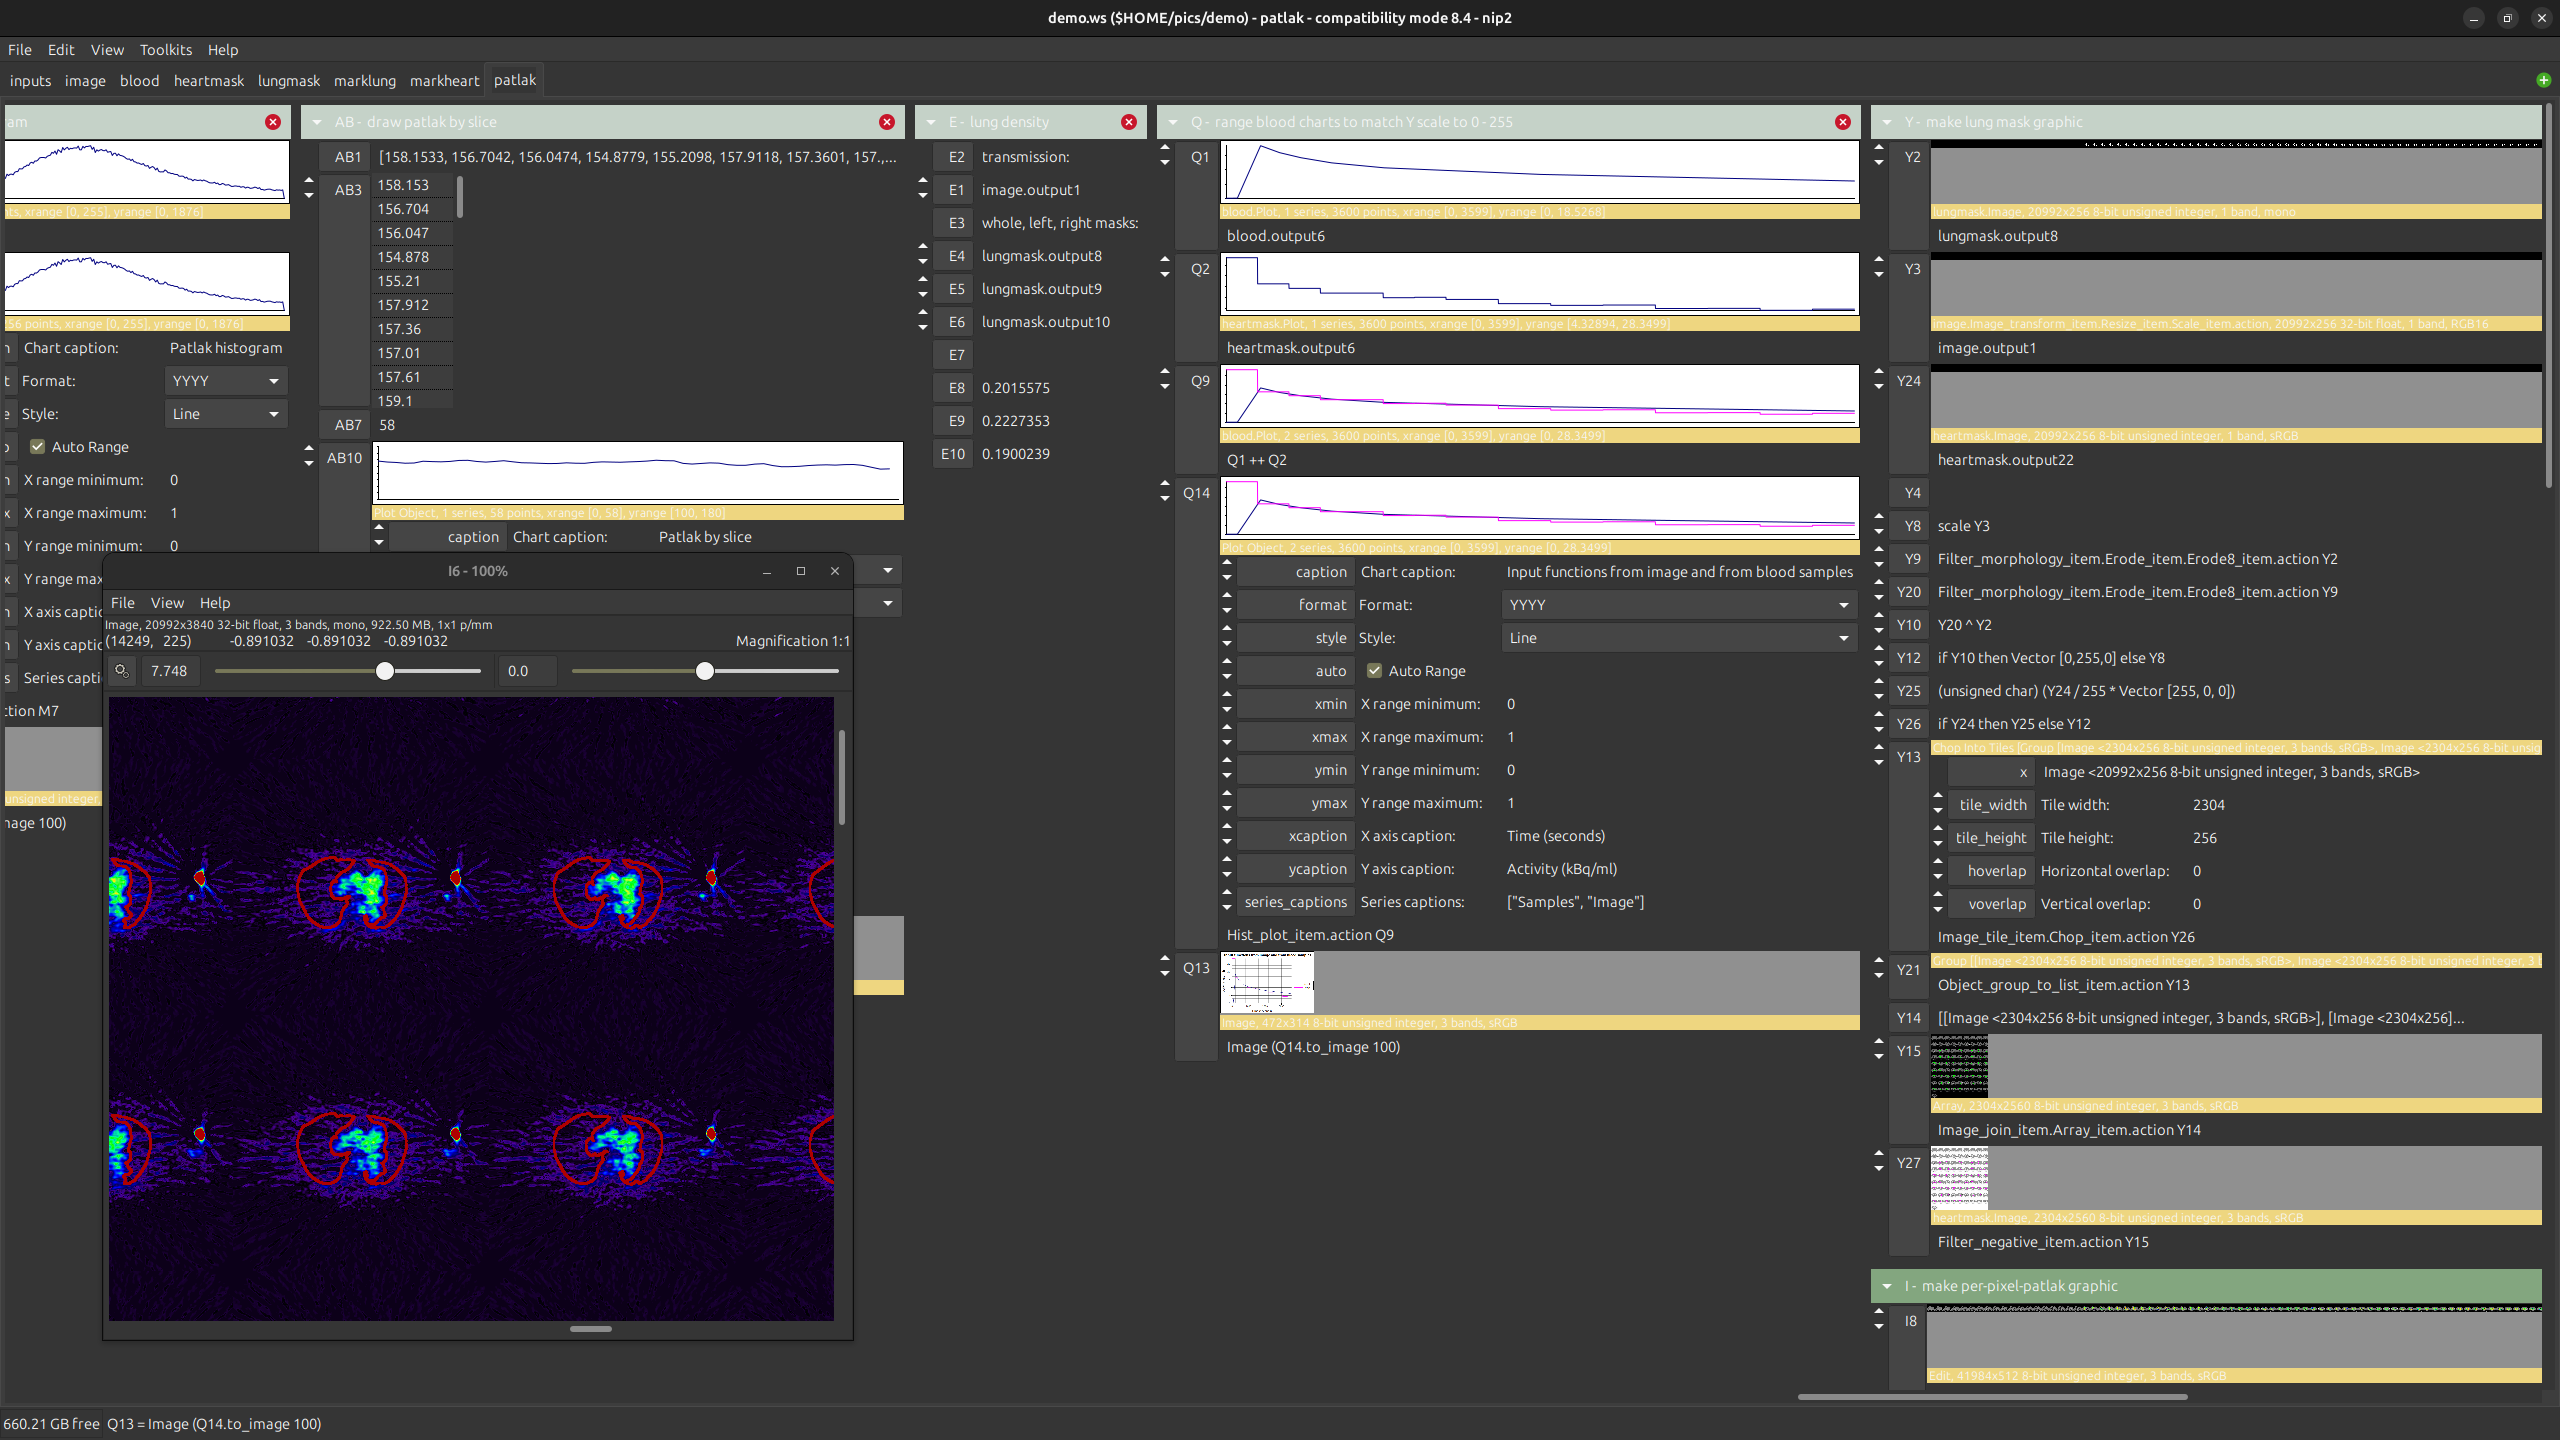
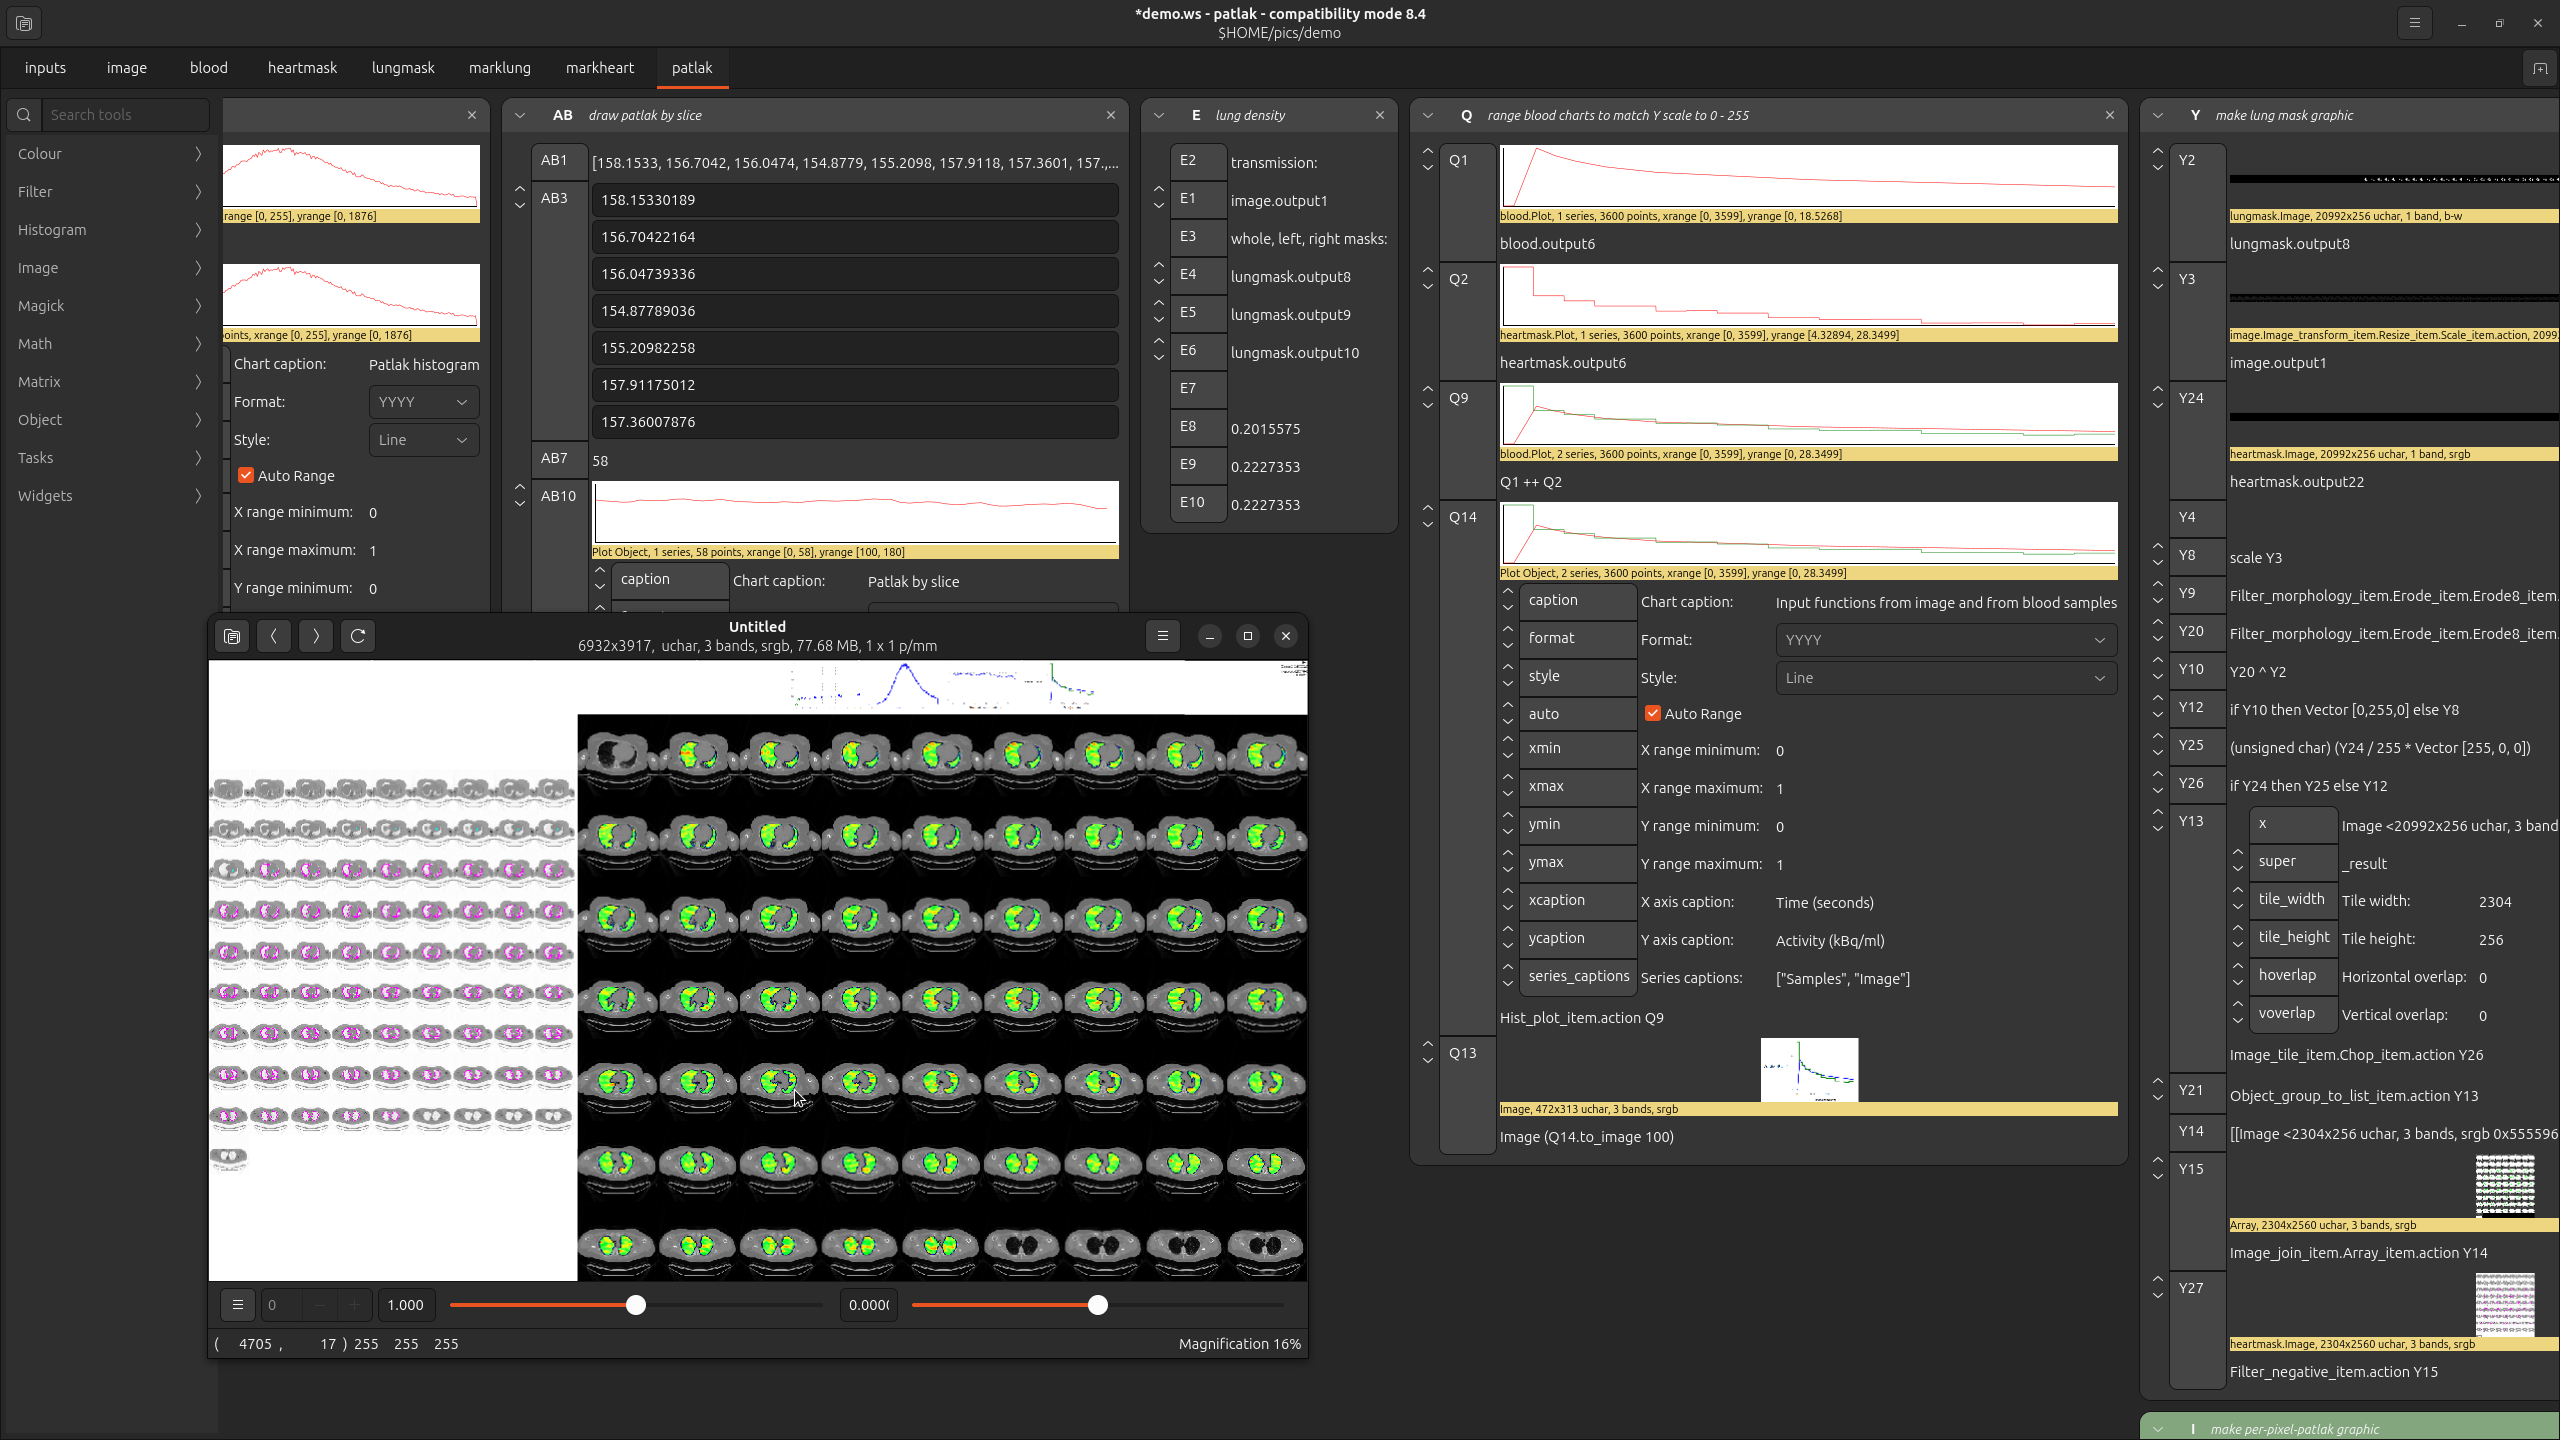
This workspace analyses pulmonary PET-CT scans. It fits a two compartment model to each lung voxel to estimate a rate constant for FDG uptake (a proxy for inflammation).
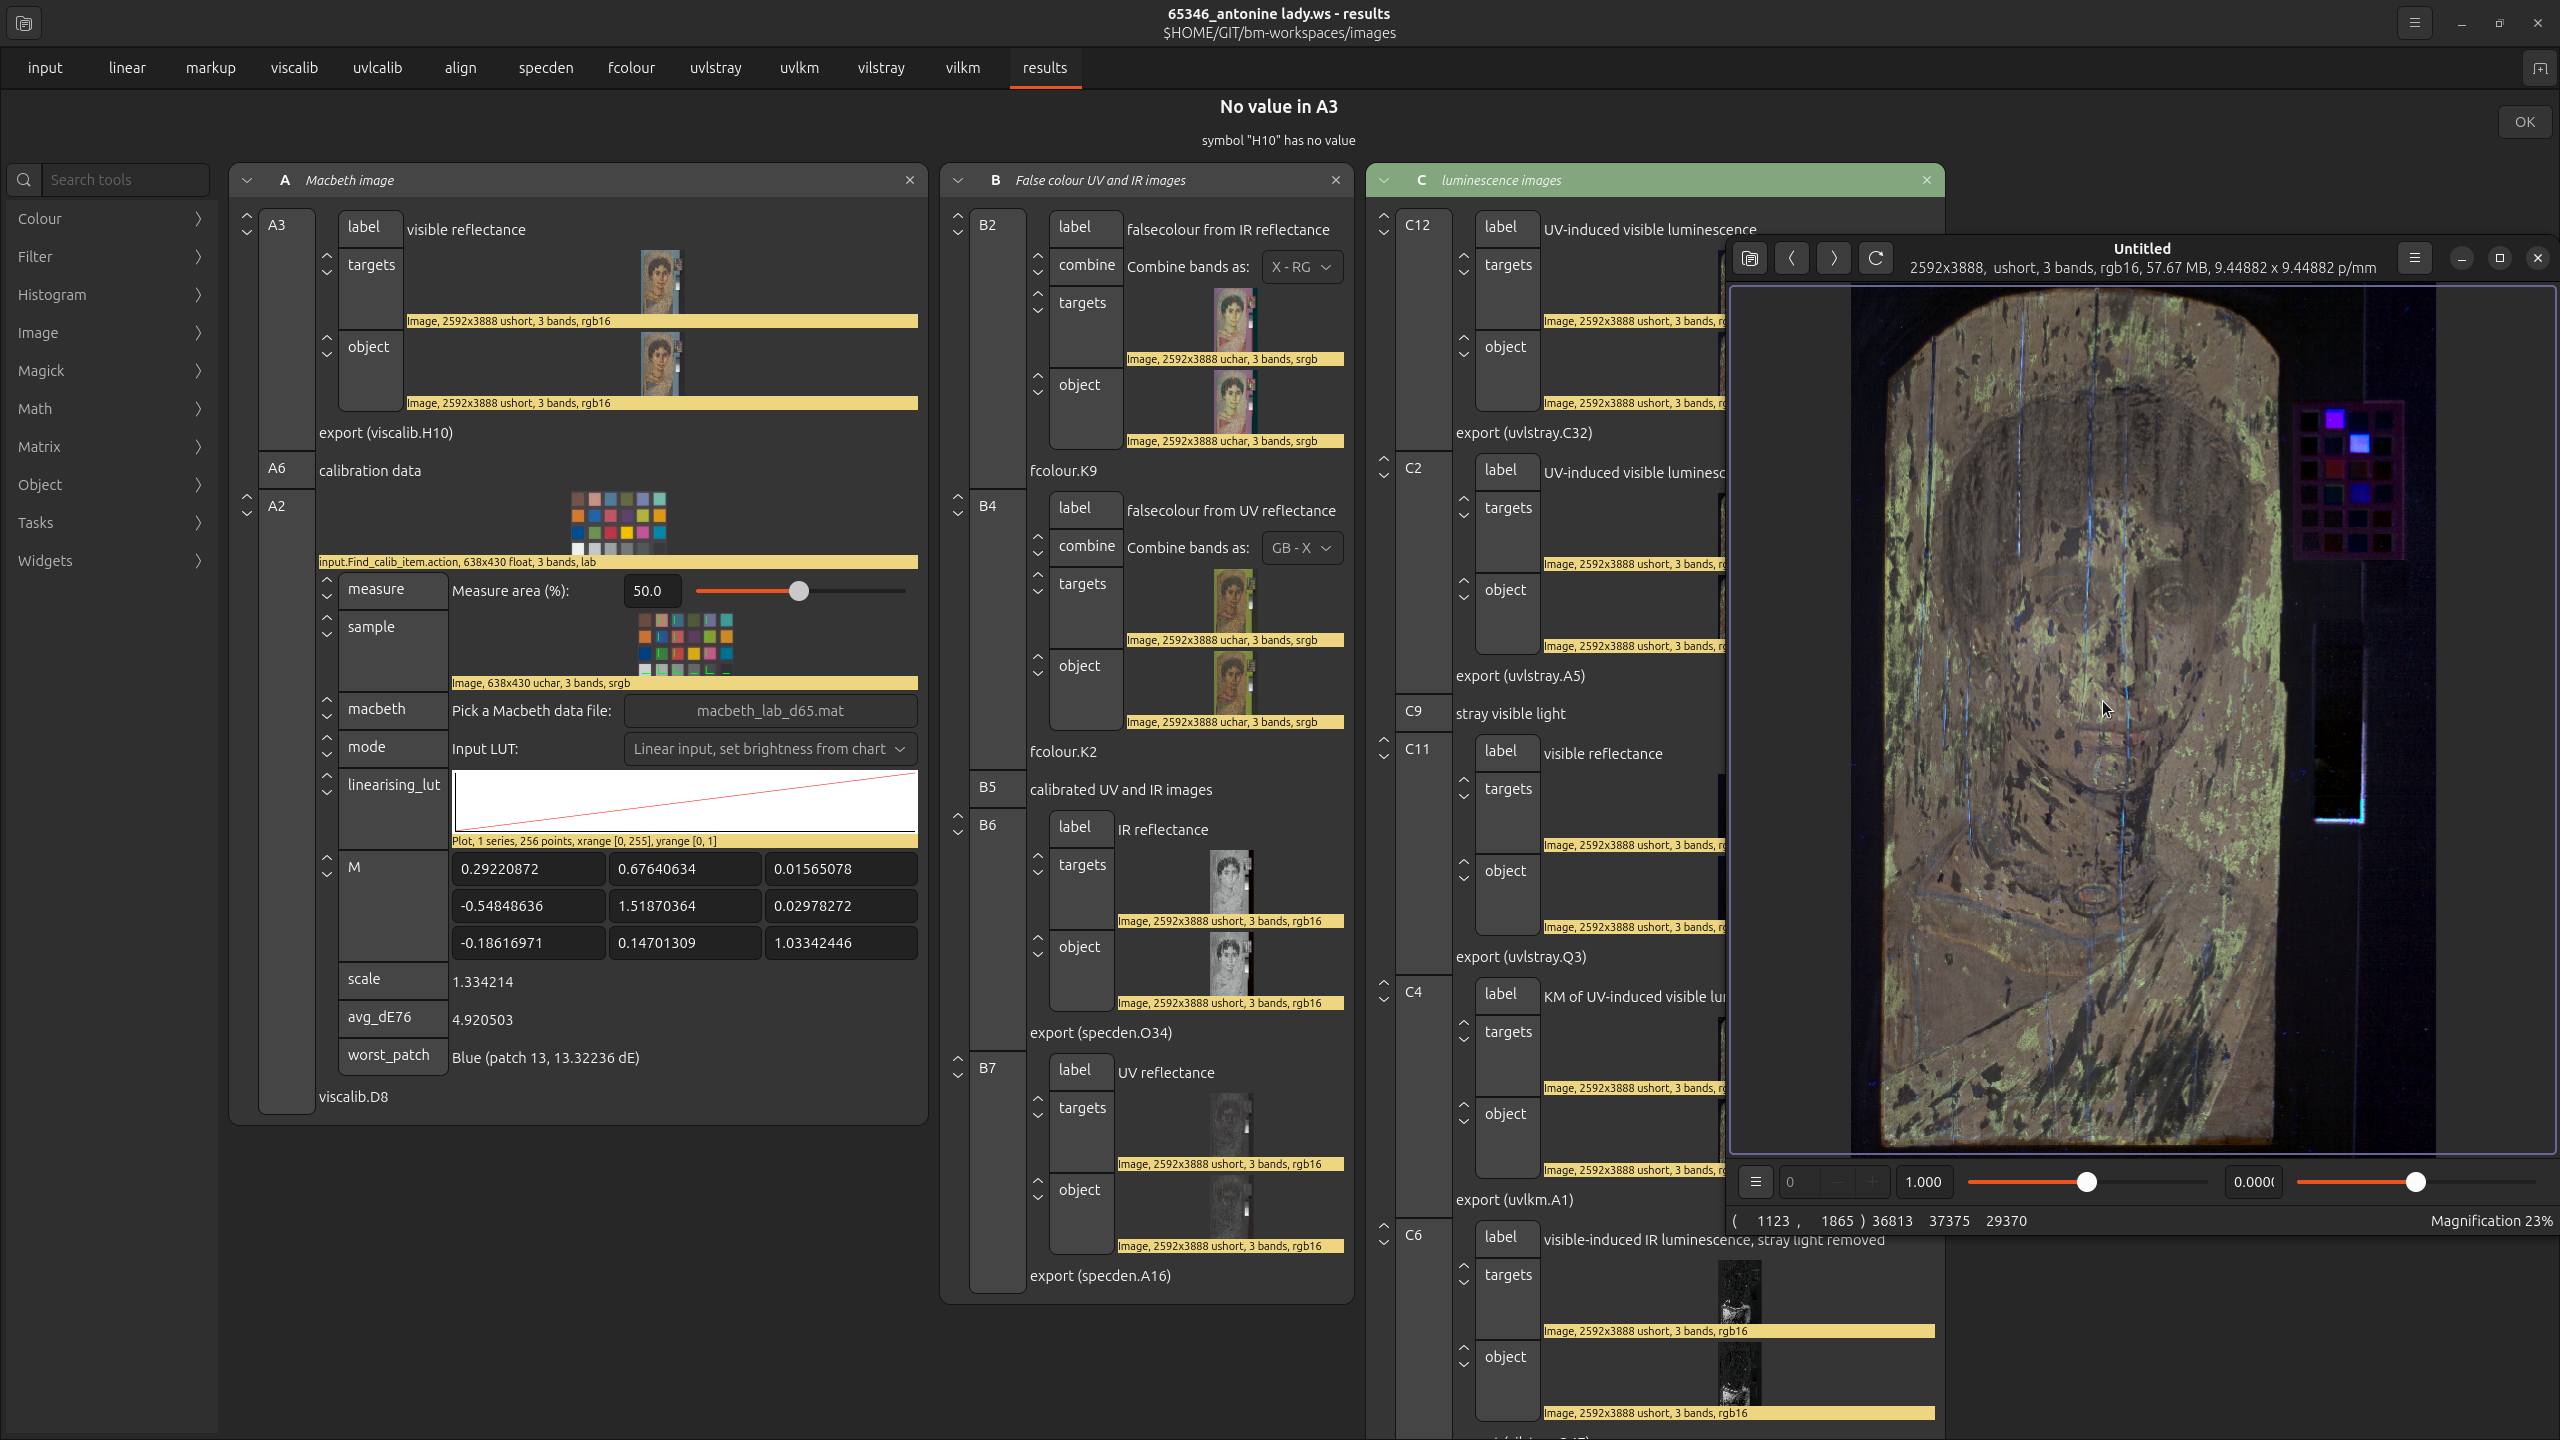
Here’s the workspace developed in the Charisma project.
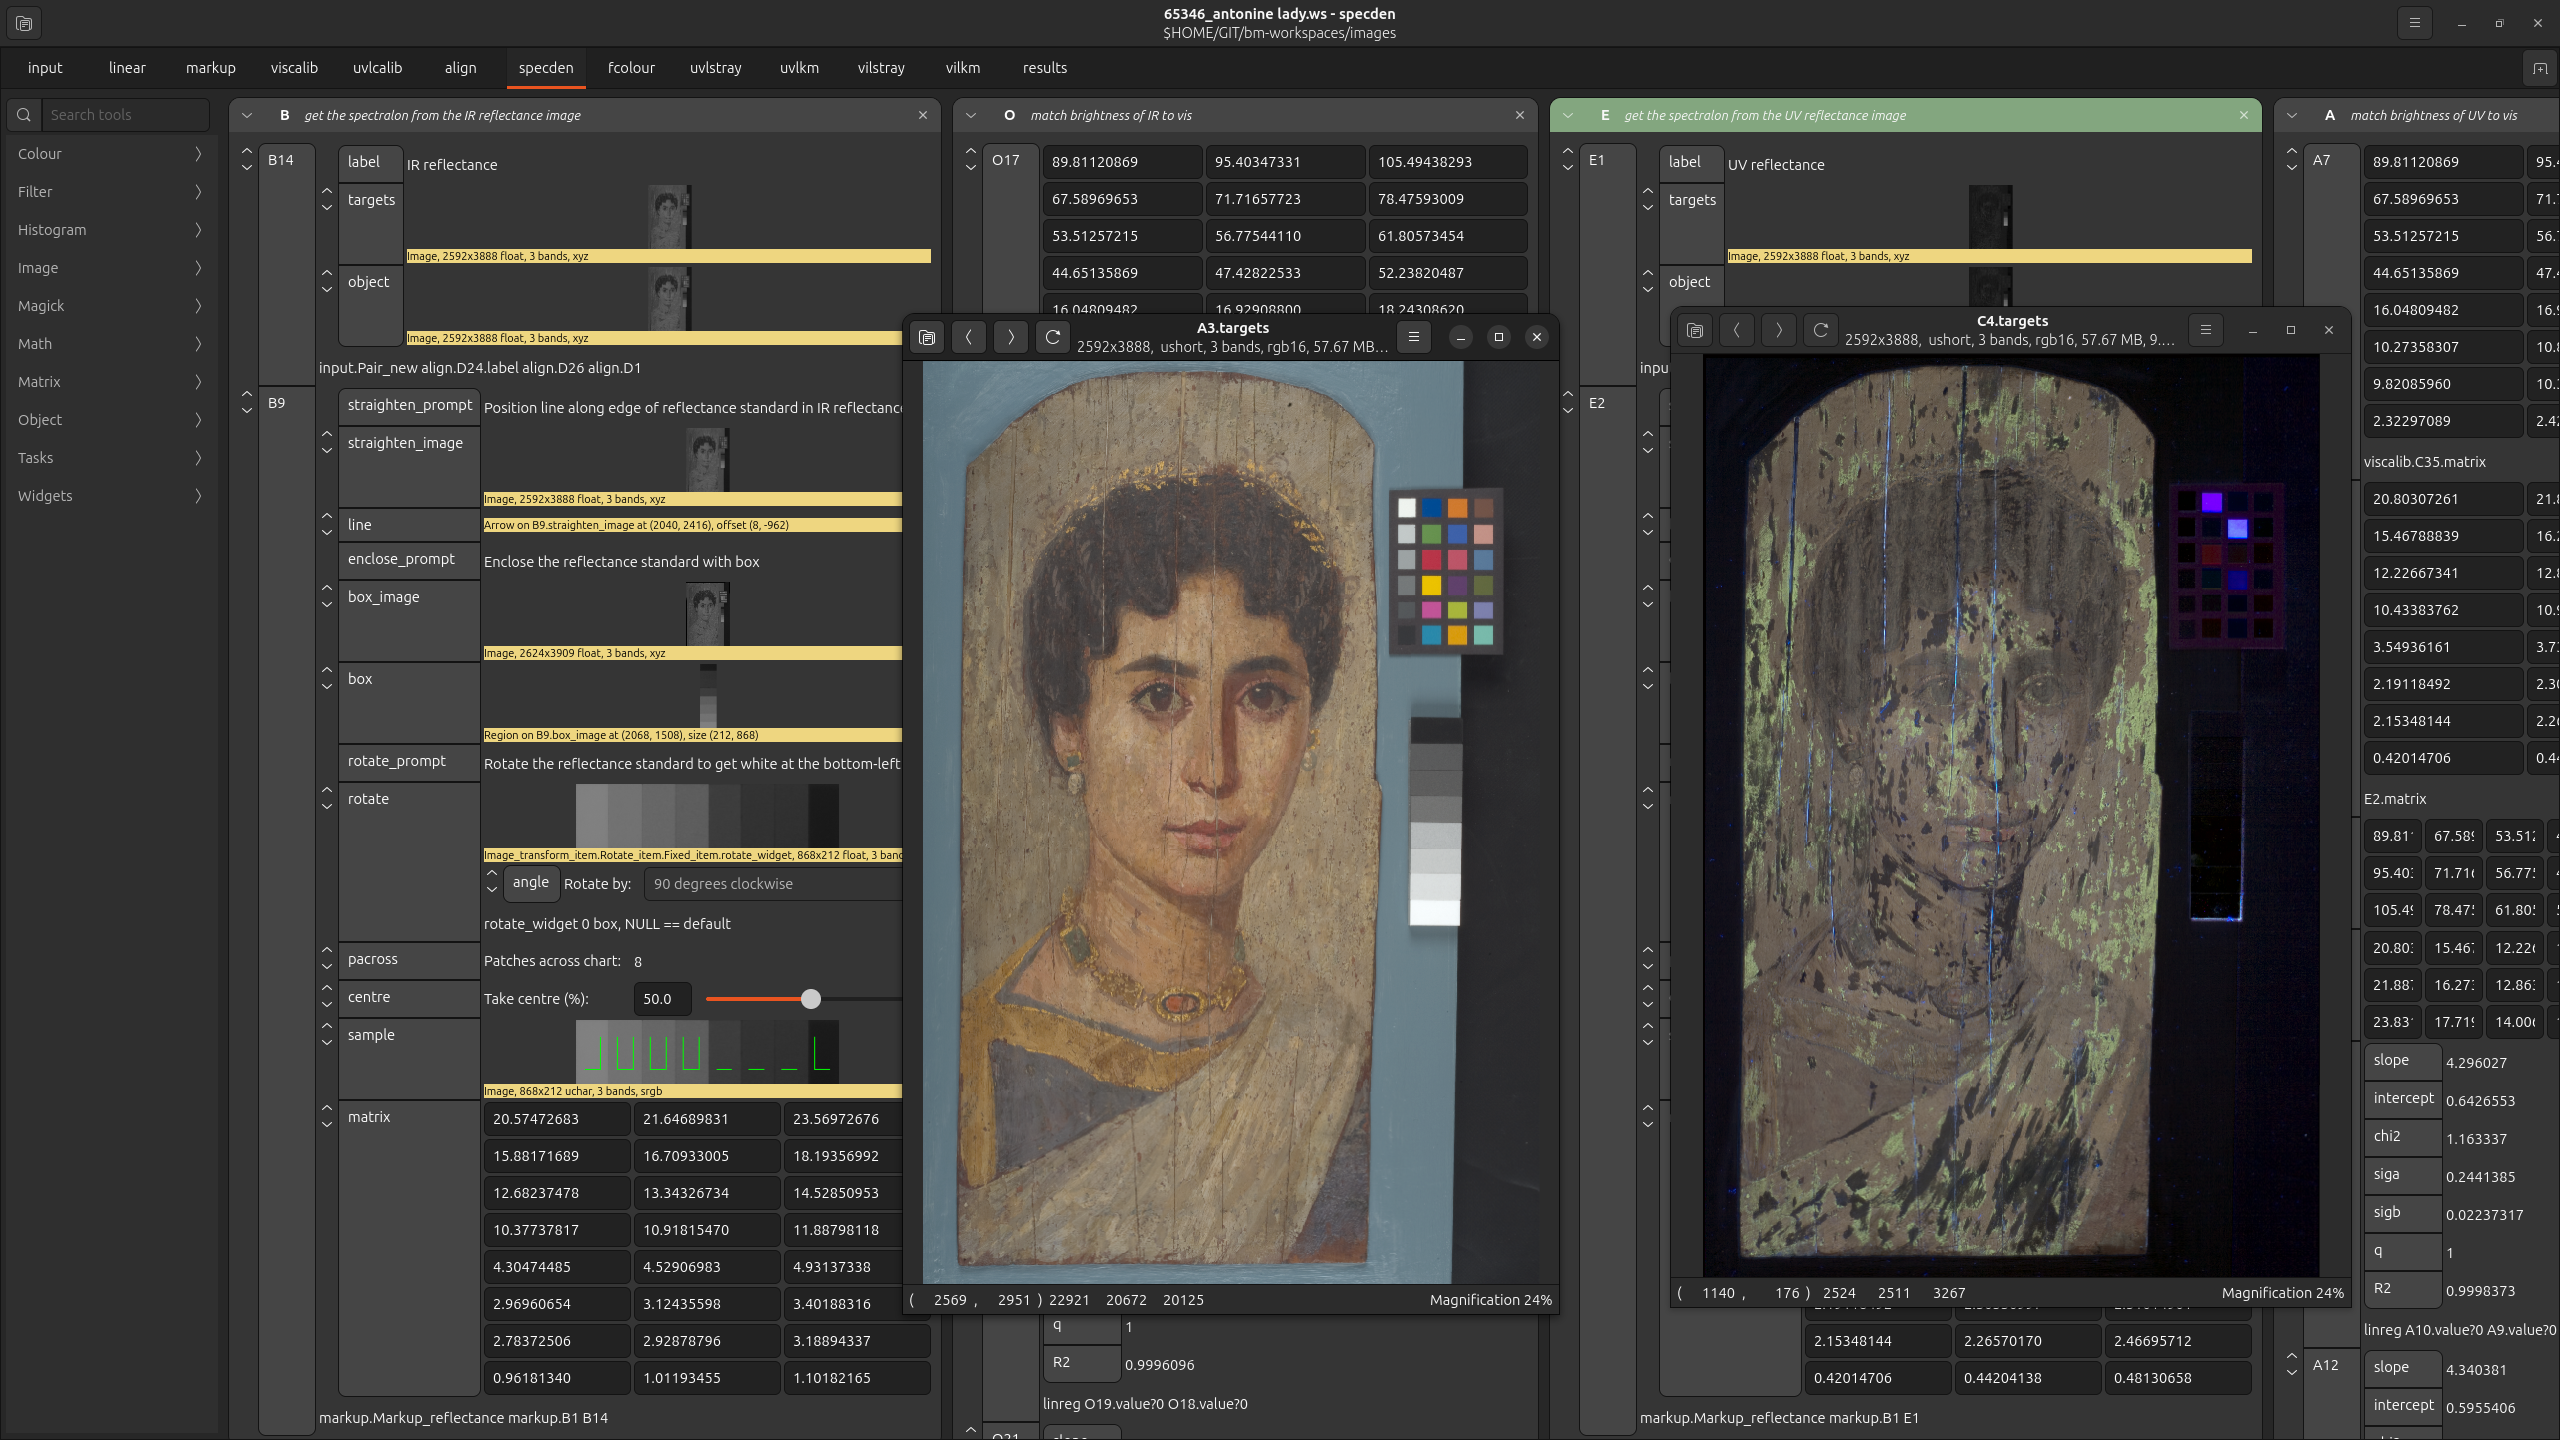
This workspace standardises and automates technical imaging in museums. You can load visible, infrared, ultraviolet, UV-induced visible luminescence and visible-induced IR luminescence images, and it computes a set of derivatives. This screenshot shows calibrated visible and calibrated UV-induced visible luminescence with stray-light removal and Kubelka–Munk modelling of scatter.
Why is it useful?
Because the underlying image processing engine is libvips, it’s fast and does not need a lot of memory. The Charisma workspace above, for example, loads in about 5s on this PC, manipulates almost 100GB of images, but runs in under 1GB of RAM:

Everything is live. You can open an image view window on any of the cells in the workspace and watch pixels change as you edit the formula.
The whole systems is lazy and demand-driven. You can load enormous images (many 100s of gigabytes) and manipulate them interactively, since only the pixels needed to update the screen actually get processed. When you do a final save operation, it will take a while, of course.
nip4 comes with a separate program called nip4-batch. This is a batch-mode
processor that can load nip4 workspace files and execute them on a set of
inputs. You can use to apply a workspace you’ve developed in nip4 to a big
collection of images.
The main window
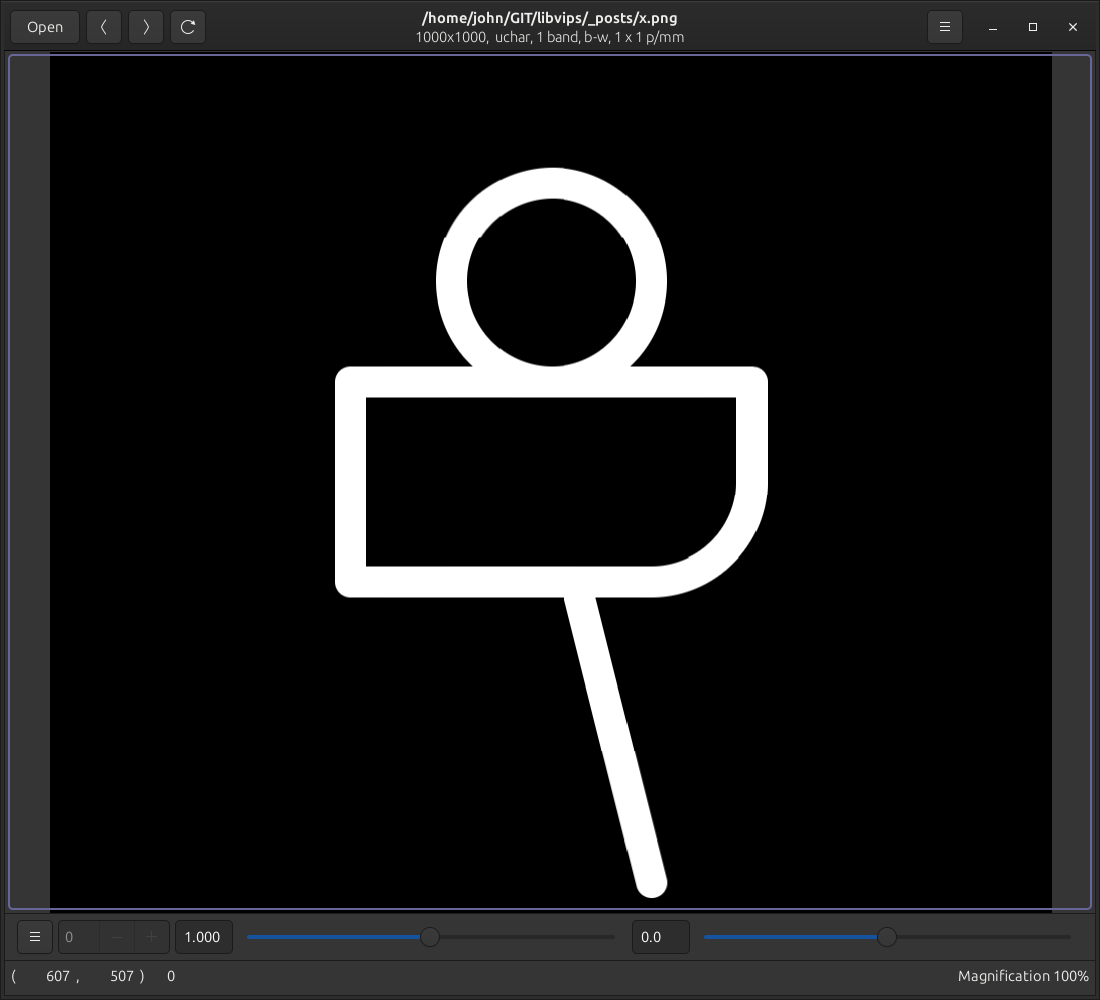
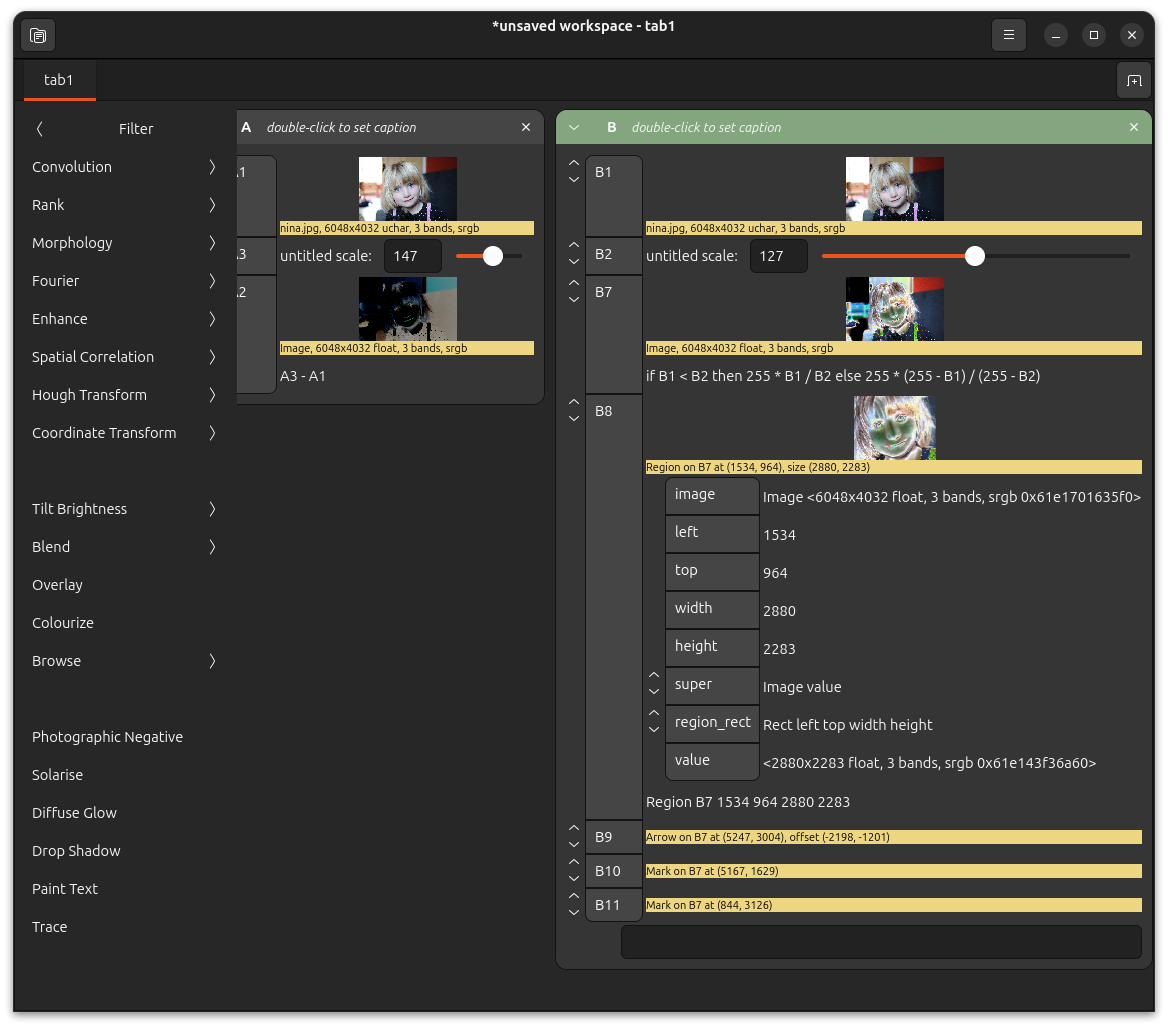
When you start nip4 it looks something like this. I’ve loaded a test image
(drag one in, use the folder button at the top left, or start nip4 from the
command-line with nip4 my-great-image.jpg):
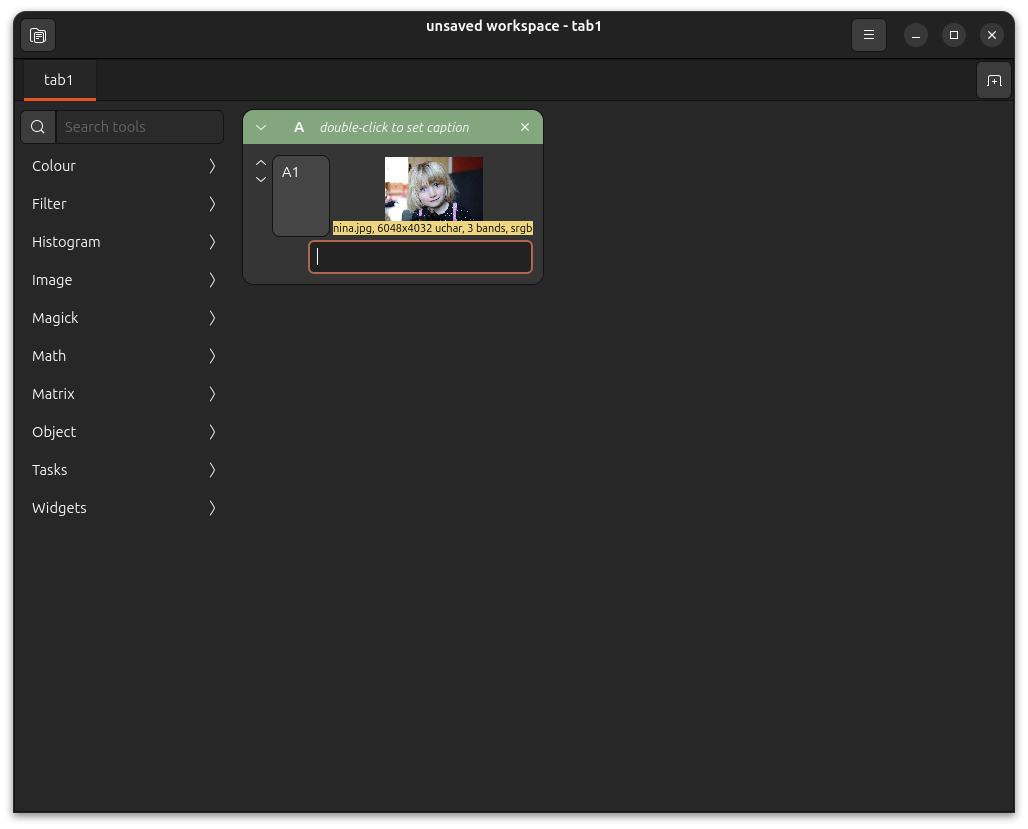
A is the current column, A1 is a row for the image you loaded, this is all
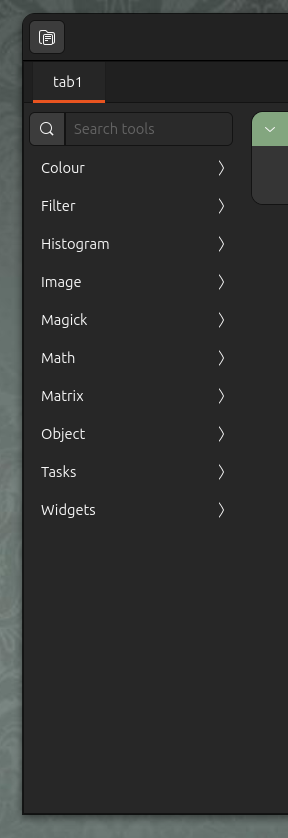
in tab1. The thing down the left is the set of loaded toolkits.
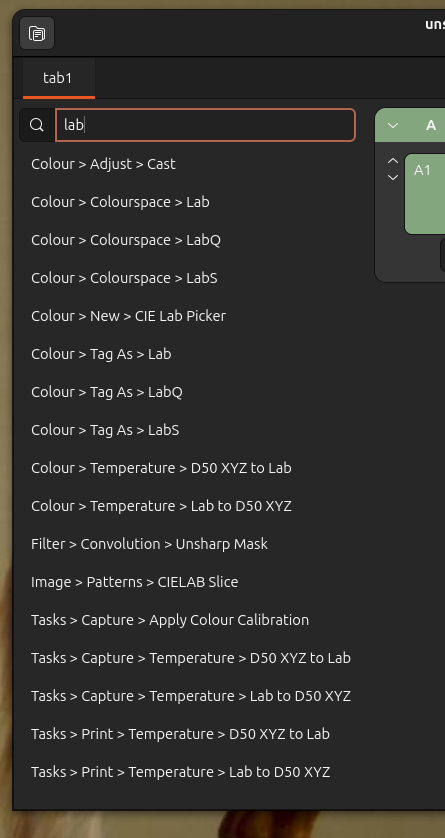
The toolkit menu contains around 300 useful operations, and you can make more yourself. You can click to move in and out of toolkits, or you can click in the magnifying glass at the top and search for tools by keyword.
If you select Filter > Photographic Negative you’ll see:
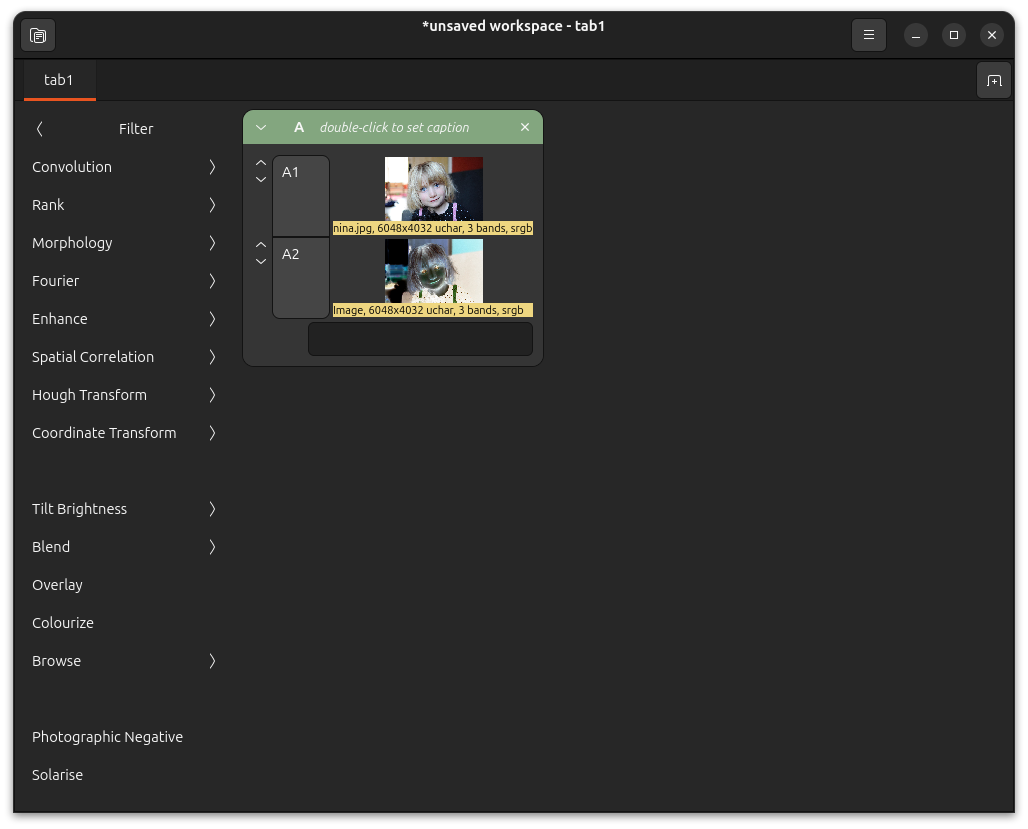
Most tools take one argument, and they are applied to the bottom row in the current column. If you want to apply a tool to a row other than the bottom one, select it first by clicking on the row label.
If you open up A2 by clicking on the V down button next to the label,
you’ll see the cell formula:
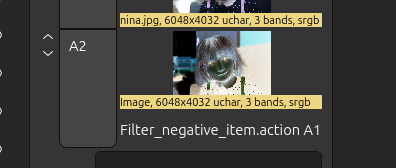
So the function Filter_negative_item.action has been applied to the row A1.
You can edit the formula — click on it, enter 255 - A1, and you should see:
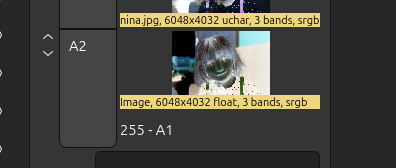
Which computes almost the same result.
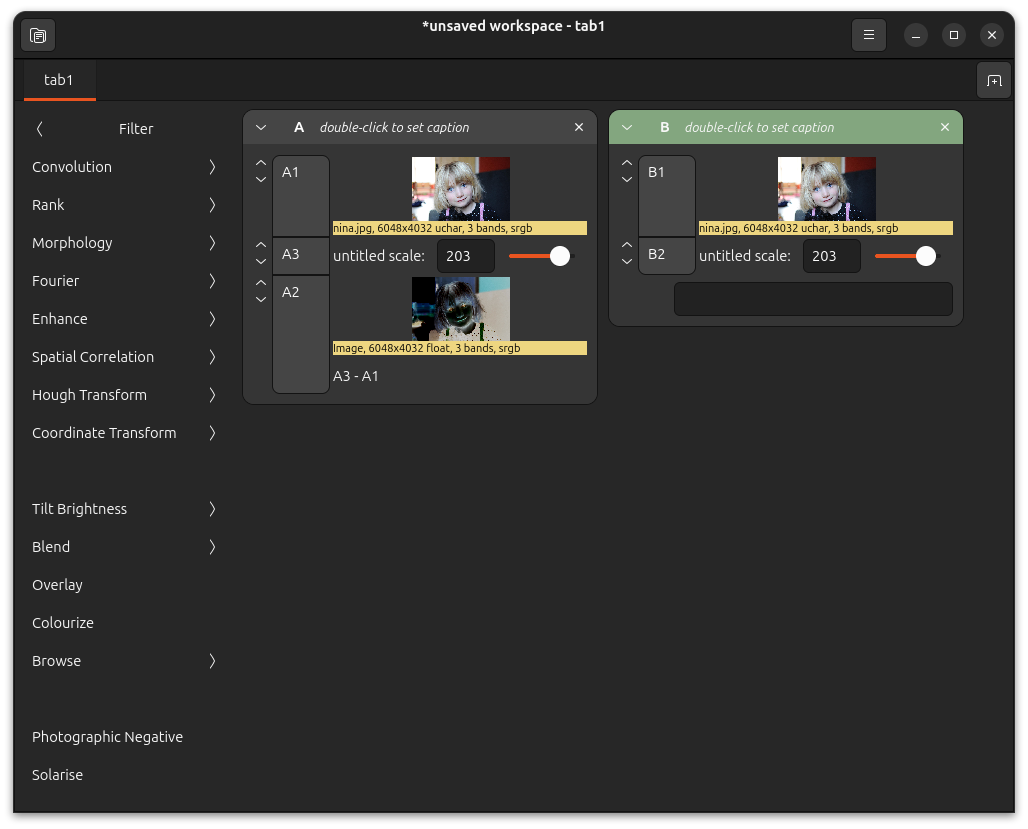
Rows can contain many types of object. Click at the top of the toolkit
bar to get back to the start position, then click Widgets > Scale to add a
scale widget called A3 to the workspace. Now edit the formula to be
A3 - A1 and try dragging the slider.
It looks a bit awkward with the result row A2 positioned before the scale.
You can reorder columns by dragging on the row label.

nip4 does not have an undo operation, instead it has fast and easy duplicate,
merge and delete. If you make a copy of column A before you start changing
it, you can’t lose any of your current work.
Duplicate column A by right-clicking on the column title and selecting
Duplicate from the menu. Right-click on B3 and select Delete, so you have:
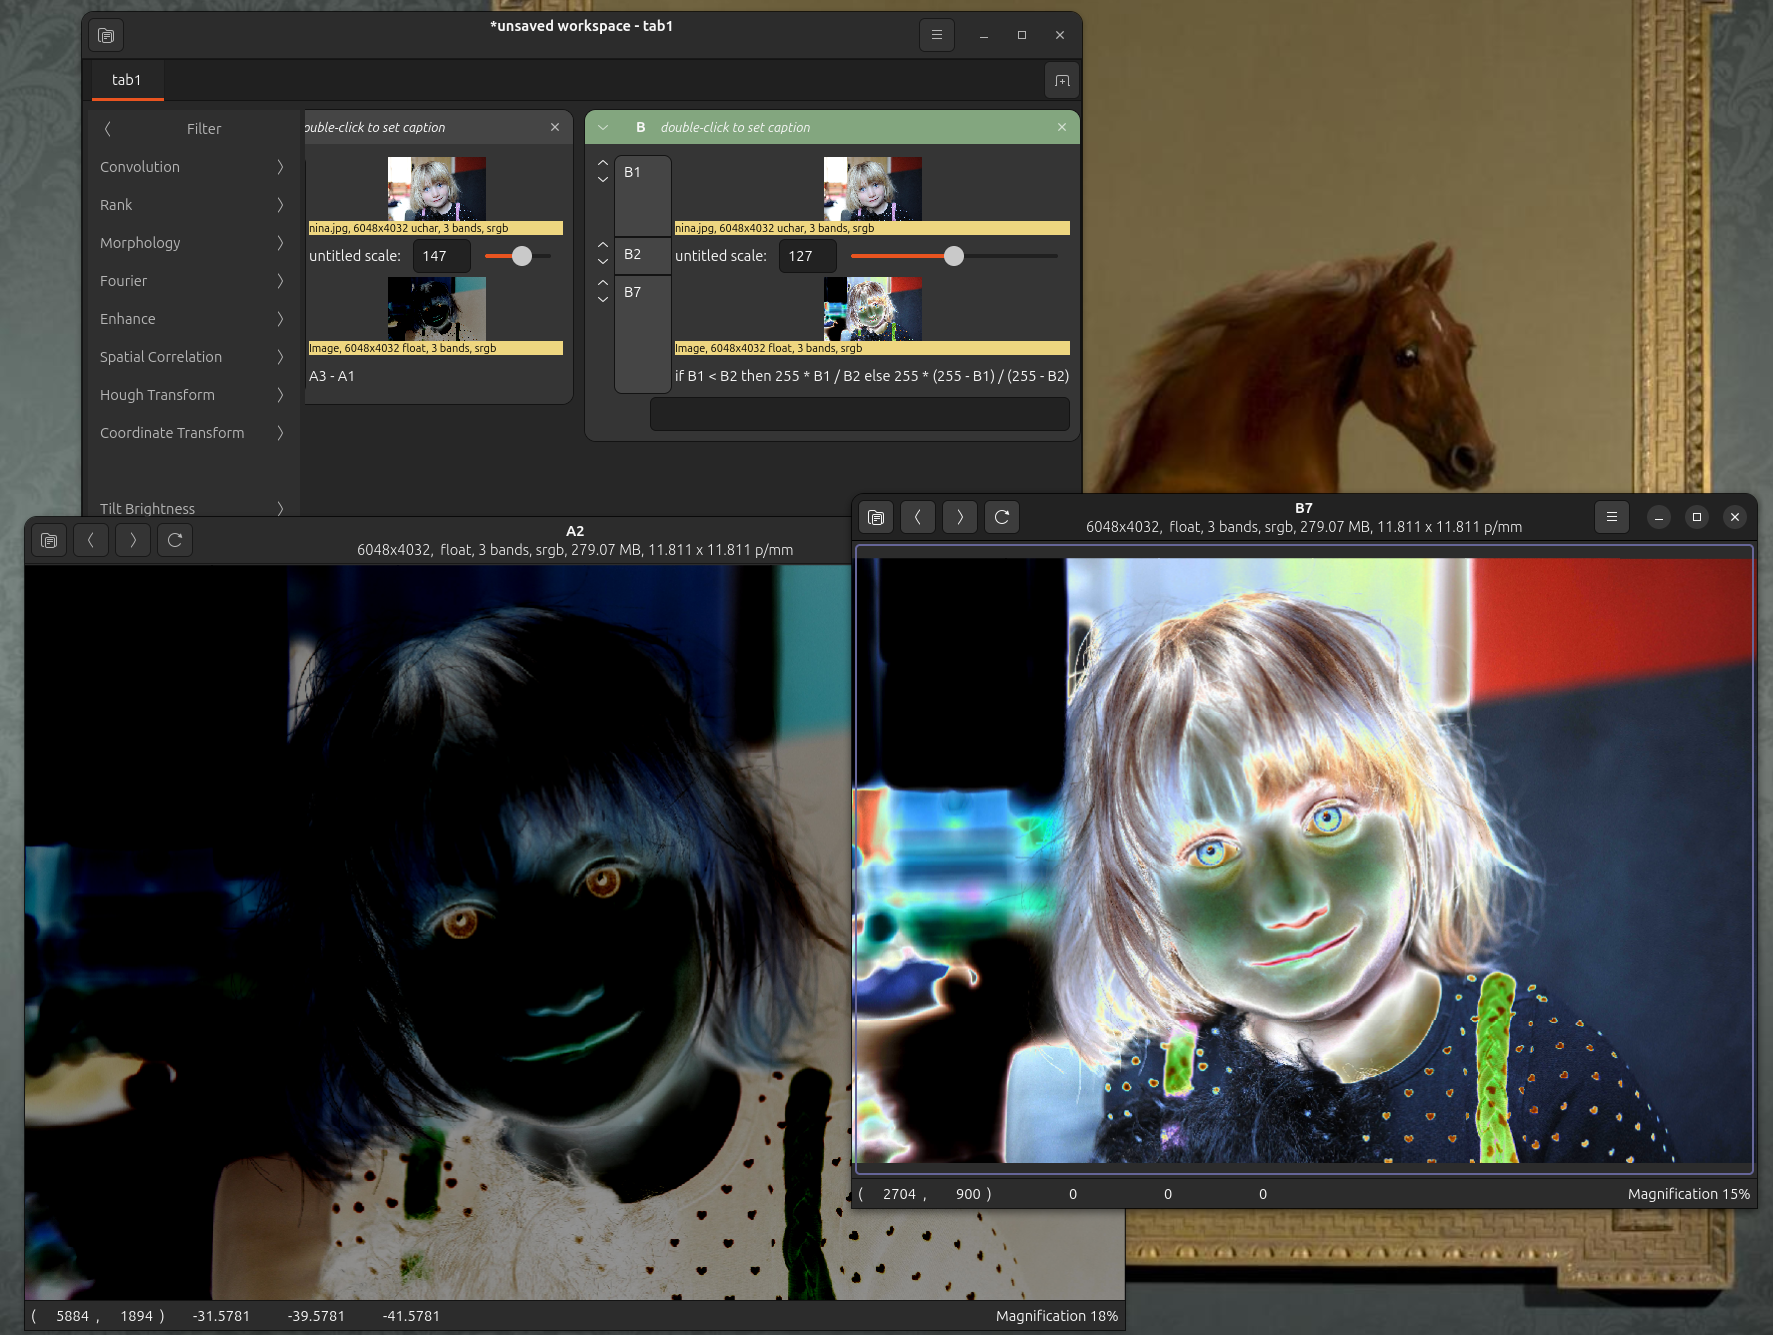
Now in the text box at the bottom of column B, enter this formula for
Solarization:
if B1 < B2 then 255 * B1 / B2 else 255 * (255 - B1) / (255 - B2)
And try dragging scale B2. Hopefully you’ll see a solarized image.
A version of this operation is also in the standard toolkits, next to
Photographic Negative.
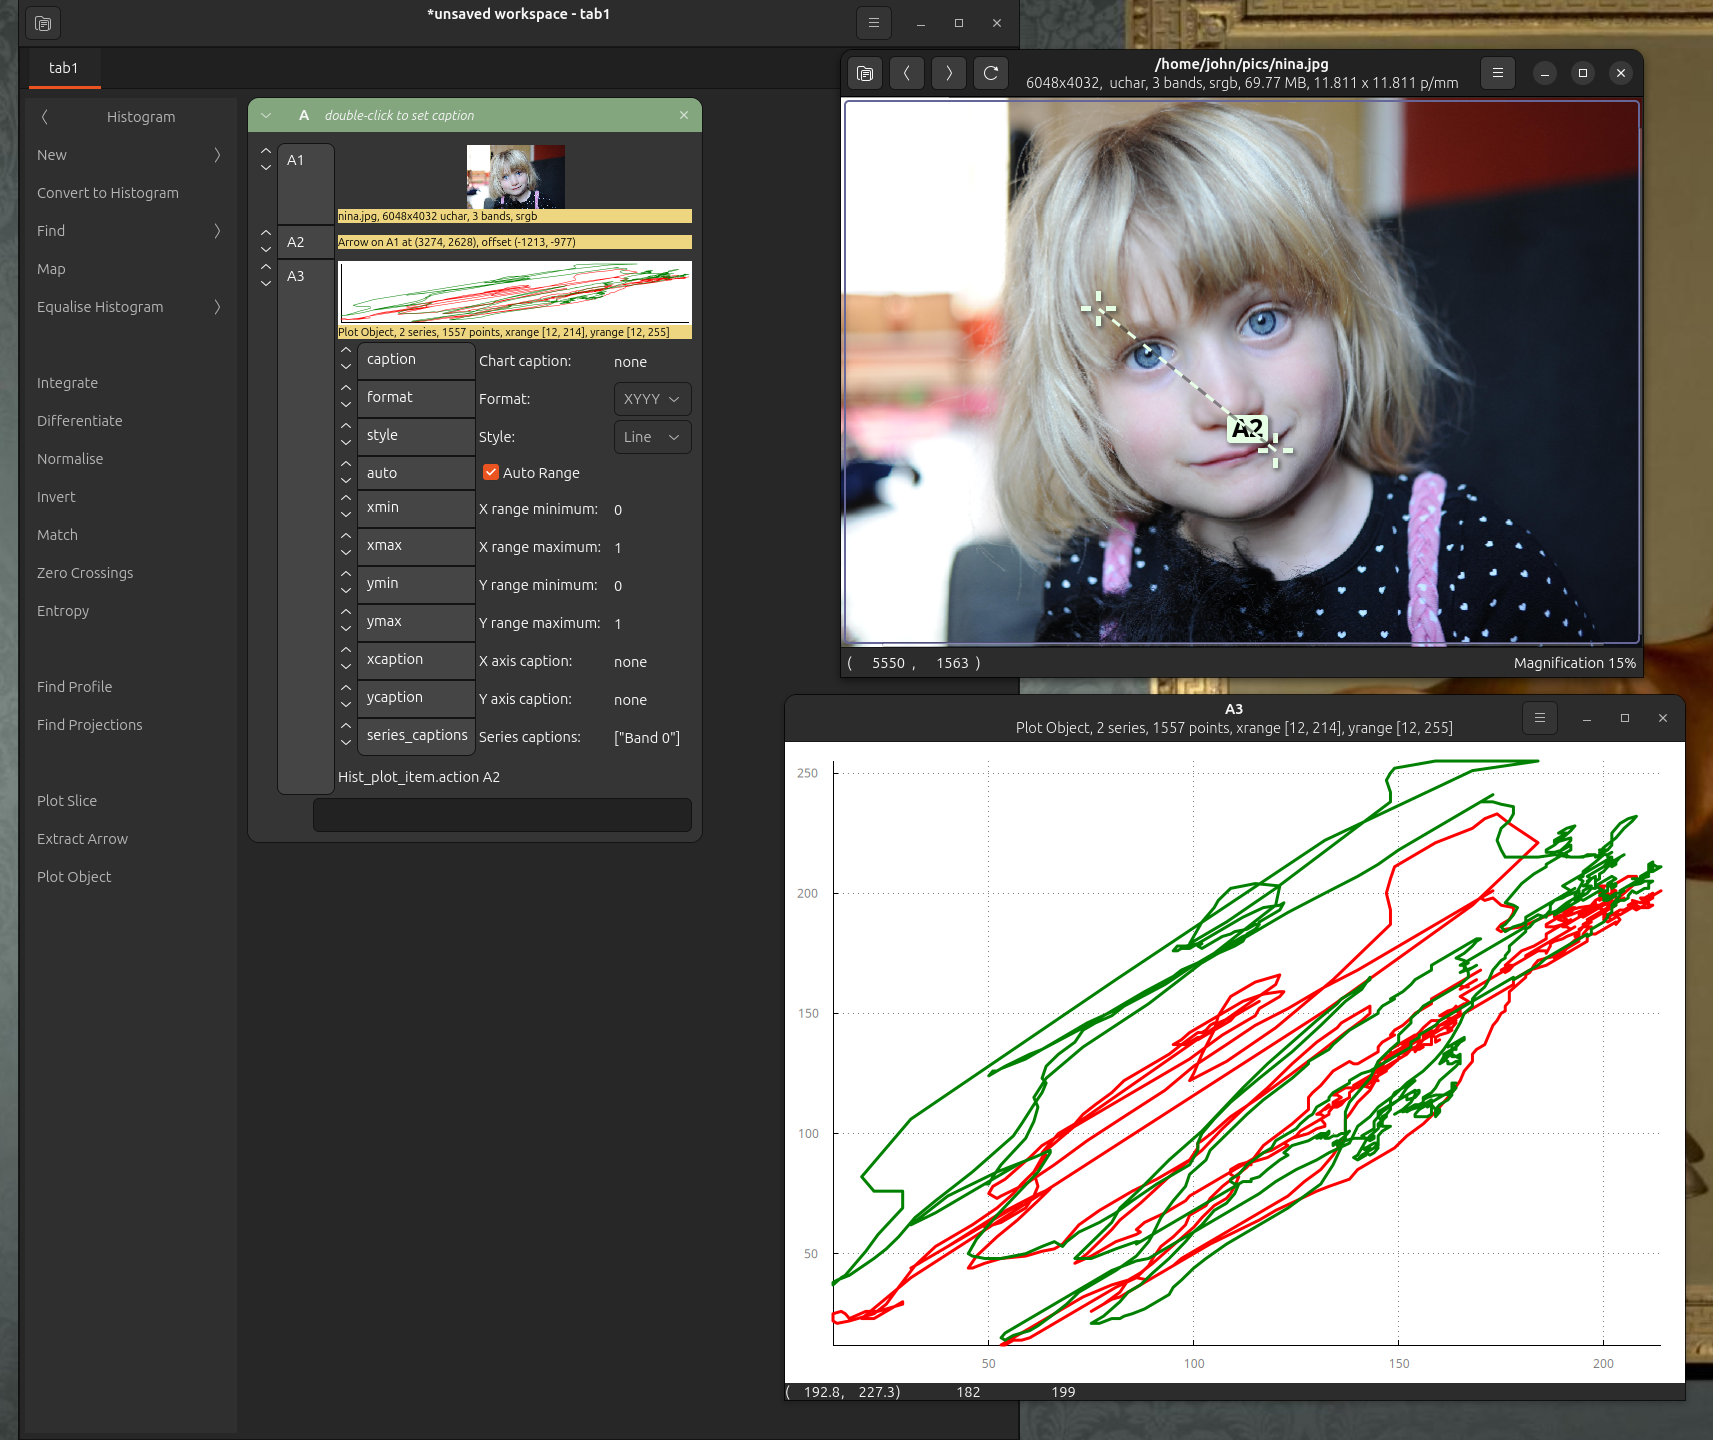
If you double-click on an image thumbnail, you’ll open an image view window. These are all live, so as you drag scales, they’ll all update. You can zoom in and watch the values of individual pixels change as you edit formula.
The main window has some other useful features. You can pan large workspaces by dragging on the background, the burger menu at the top-right has some useful options, there’s a context menu on the workspace tab, and another one on the workspace background.
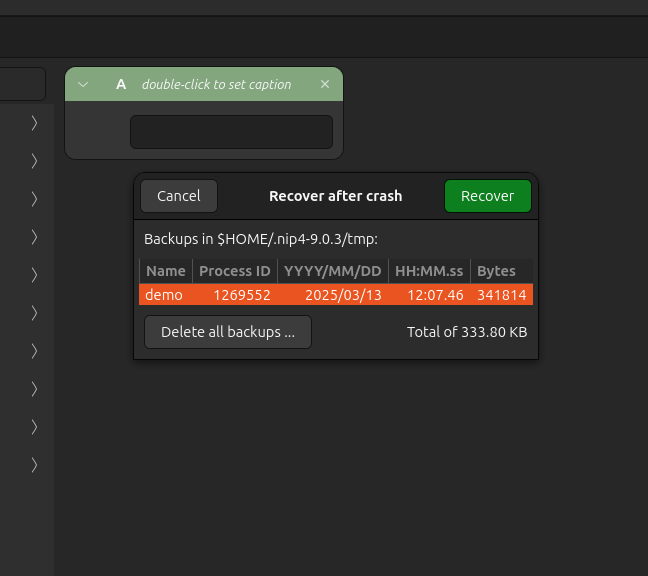
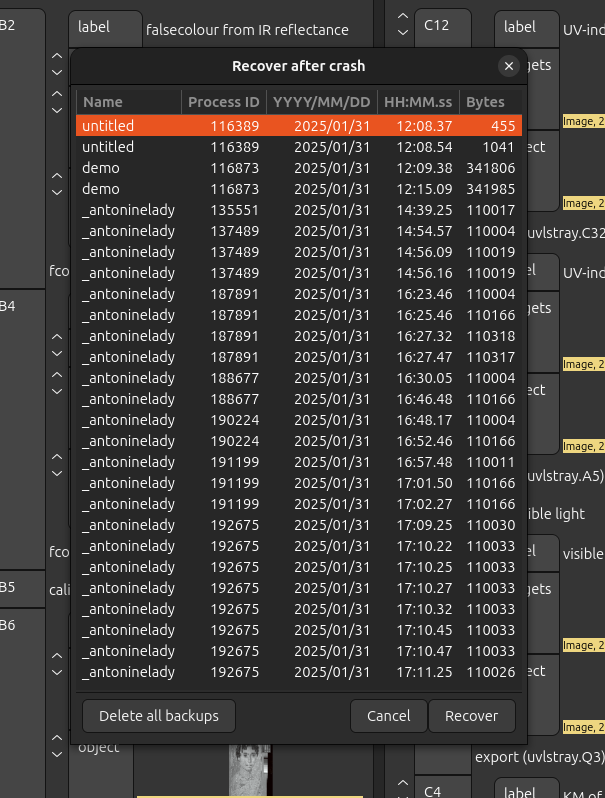
The burger menu includes Recover After Crash, which lets you get any workspace back if something bad happens (I hope it doesn’t).
The image view window
The nip4 image view window has a lot of useful shortcuts.
- Cursor keys to scroll around
- Cursor keys plus shift to move by a screen size
- Cursor keys plus Ctrl to move to image edges
- Number keys to pick a particular magnification
- Ctrl + number keys to pick a particular zoom out
- 0 for best fit
- 1 for 100%
- d, to toggle debug rendering mode
- i, + / o, - to zoom in and out
- Ctrl-< / Ctrl-> for prev page, next page
- Alt-Left / Alt-Right for prev image, next image
- Mouse drag to pan
- Mousewheel to zoom
- Mousewheel + Shift/Ctrl to pan
- Ctrl-O replace image
- Ctrl-S save image
- Alt-Enter show properties
- Ctrl-C / Ctrl-V to copy paste of filenames, lists of filenames and images
- Drag and drop filenames, lists of filenames and images
- F11 fullscreen
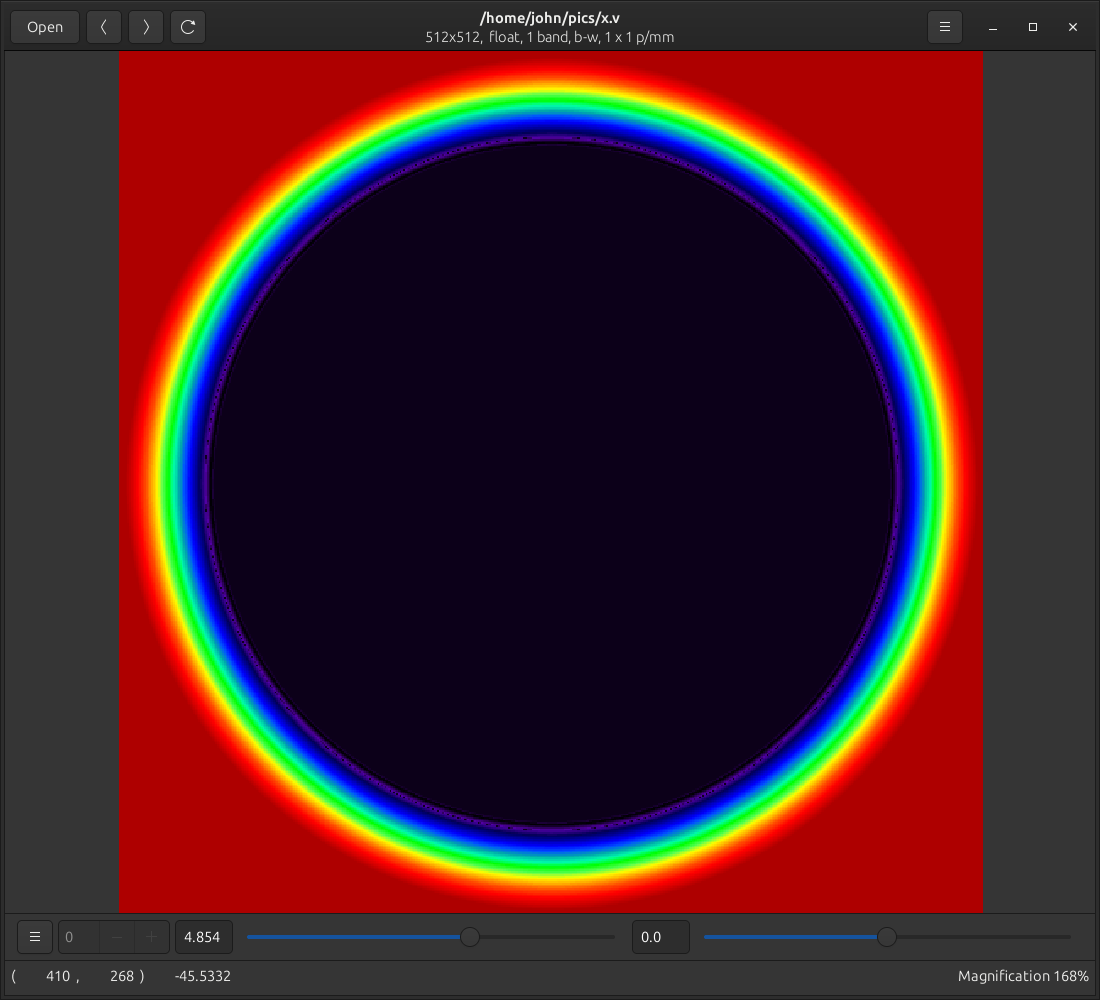
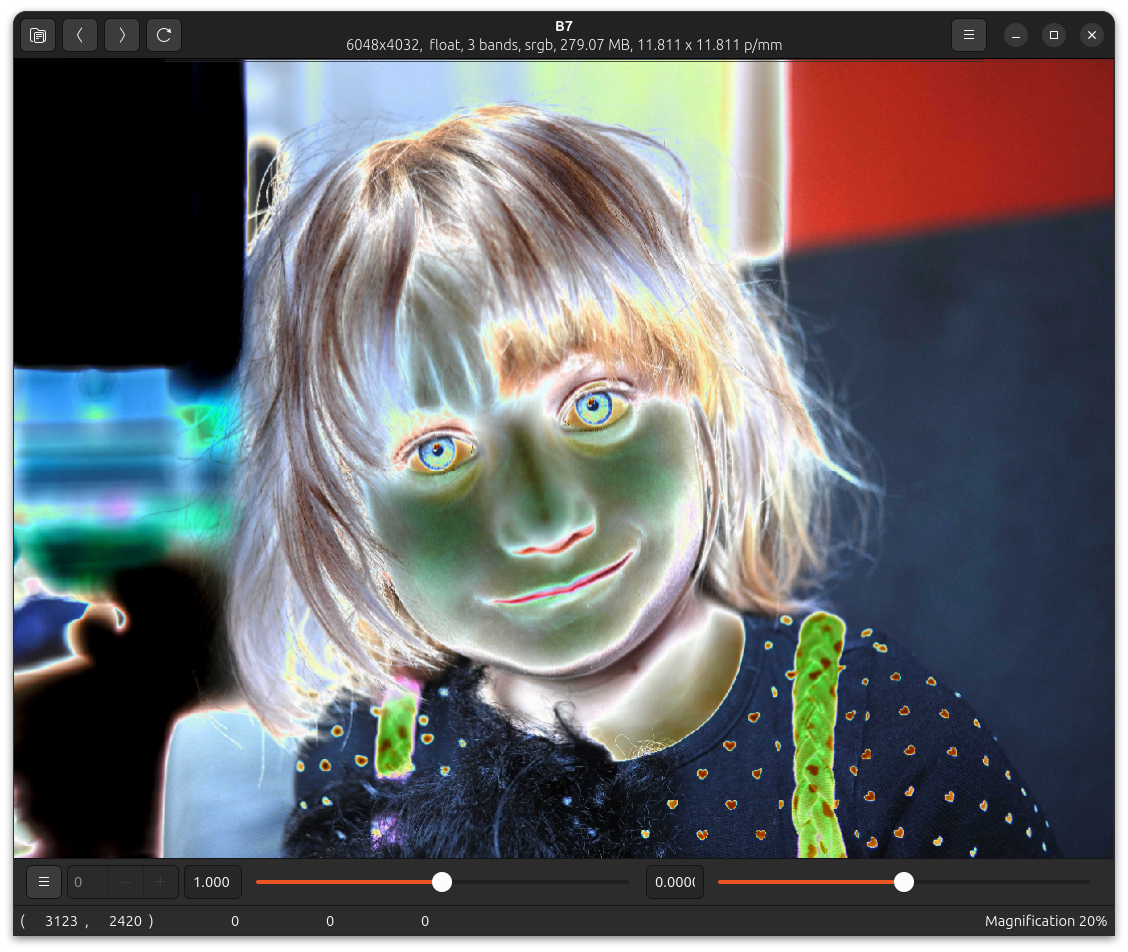
If you select View > Display Control Bar, some widgets appear at the bottom. They let you flip pages, move to animation frames, set a scale and offset for each pixel (handy for scientific images), and a burger menu gives a set of useful visualisation options such as false colour, log scale, and colour management.
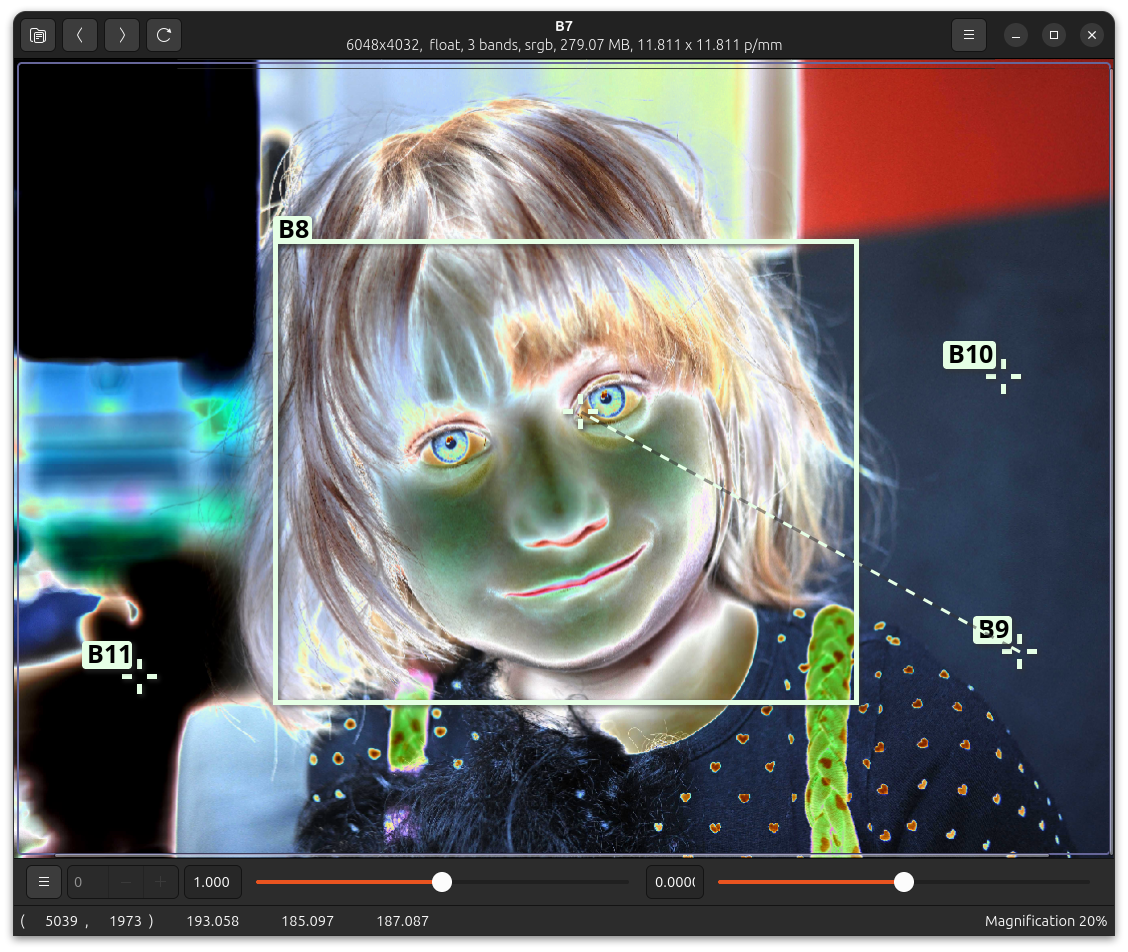
You can also mark features on images. If you hold down Ctrl and drag down and right, you’ll create a rectangular region, if you drag up and left you’ll mark an arrow, if you just Ctrl-click you’ll mark a point.
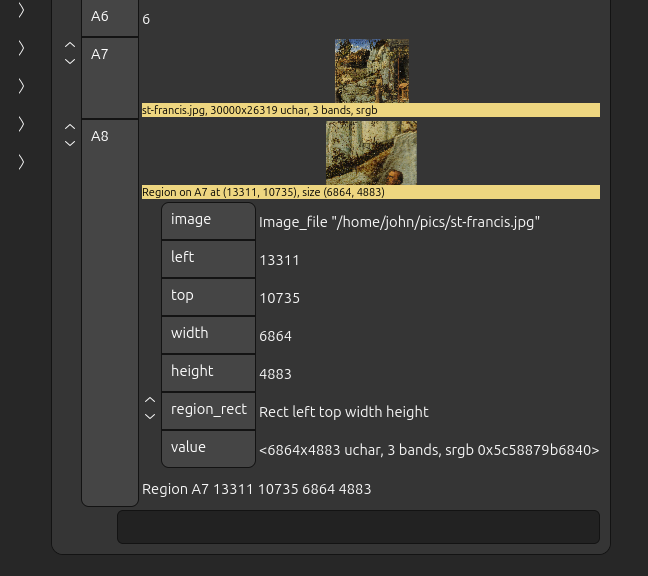
Editing complex objects
All compound row objects can be edited. Back in the main window, try pressing the down arrow next to the region a few times. You should see something like this:
You can edit any of these member values. For example, try setting top to
be a fixed value, like 900. Now go back to the image window and try dragging
B8 — you’ll find it can only be dragged left-right, because the top edge
is now fixed in place.
You can use any formula you like. Try setting height to be the formula
width * 2 ** 0.5, that is, width times root two. Now you’ll find B8 can’t
be sized vertically, but if you resize horizontally, the height will also
change to keep the region in the “A” paper aspect ratio.
Reset
In that last example, three conflicting things were competing to set the
value of B8.
First, at the bottom of B8, you’ll see the original
equation, created when you initially dragged out the shape:
Region B7 1534 964 2880 2283
Next, as you moved the region with the mouse, the left, top, width and
height members were updated. Finally, you edited top by hand to fix a
value in place.
nip4 decides which of these ultimately sets the value of a row with two rules:
-
Graphical edits (eg. dragging a region, or moving a scale) override formula.
-
Inner edits override outer edits.
You can reset all changes to a row by right-clicking on a row and picking Reset from the menu. It will revert to the state of the top-most formula.
Overloading
Most operations will work on rows of any type and will produce a result of the expected type.
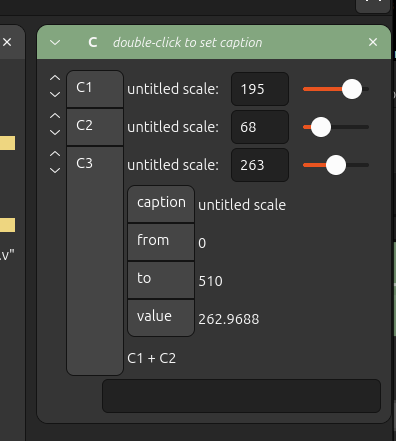
For example, if you make a new column, select Widgets > Scale twice to make
two scale widgets, then select Math > Arithmetic > Add (or enter C1 + C2
in the formula box), you’ll get a third scale. Try dragging either of the top
two scales and the third will update.
If you open up the new scale widget, you’ll see that from and to have
been set appropriately for the possible range:
Just as with regions, you can also set the formula for any of these members.
Other features
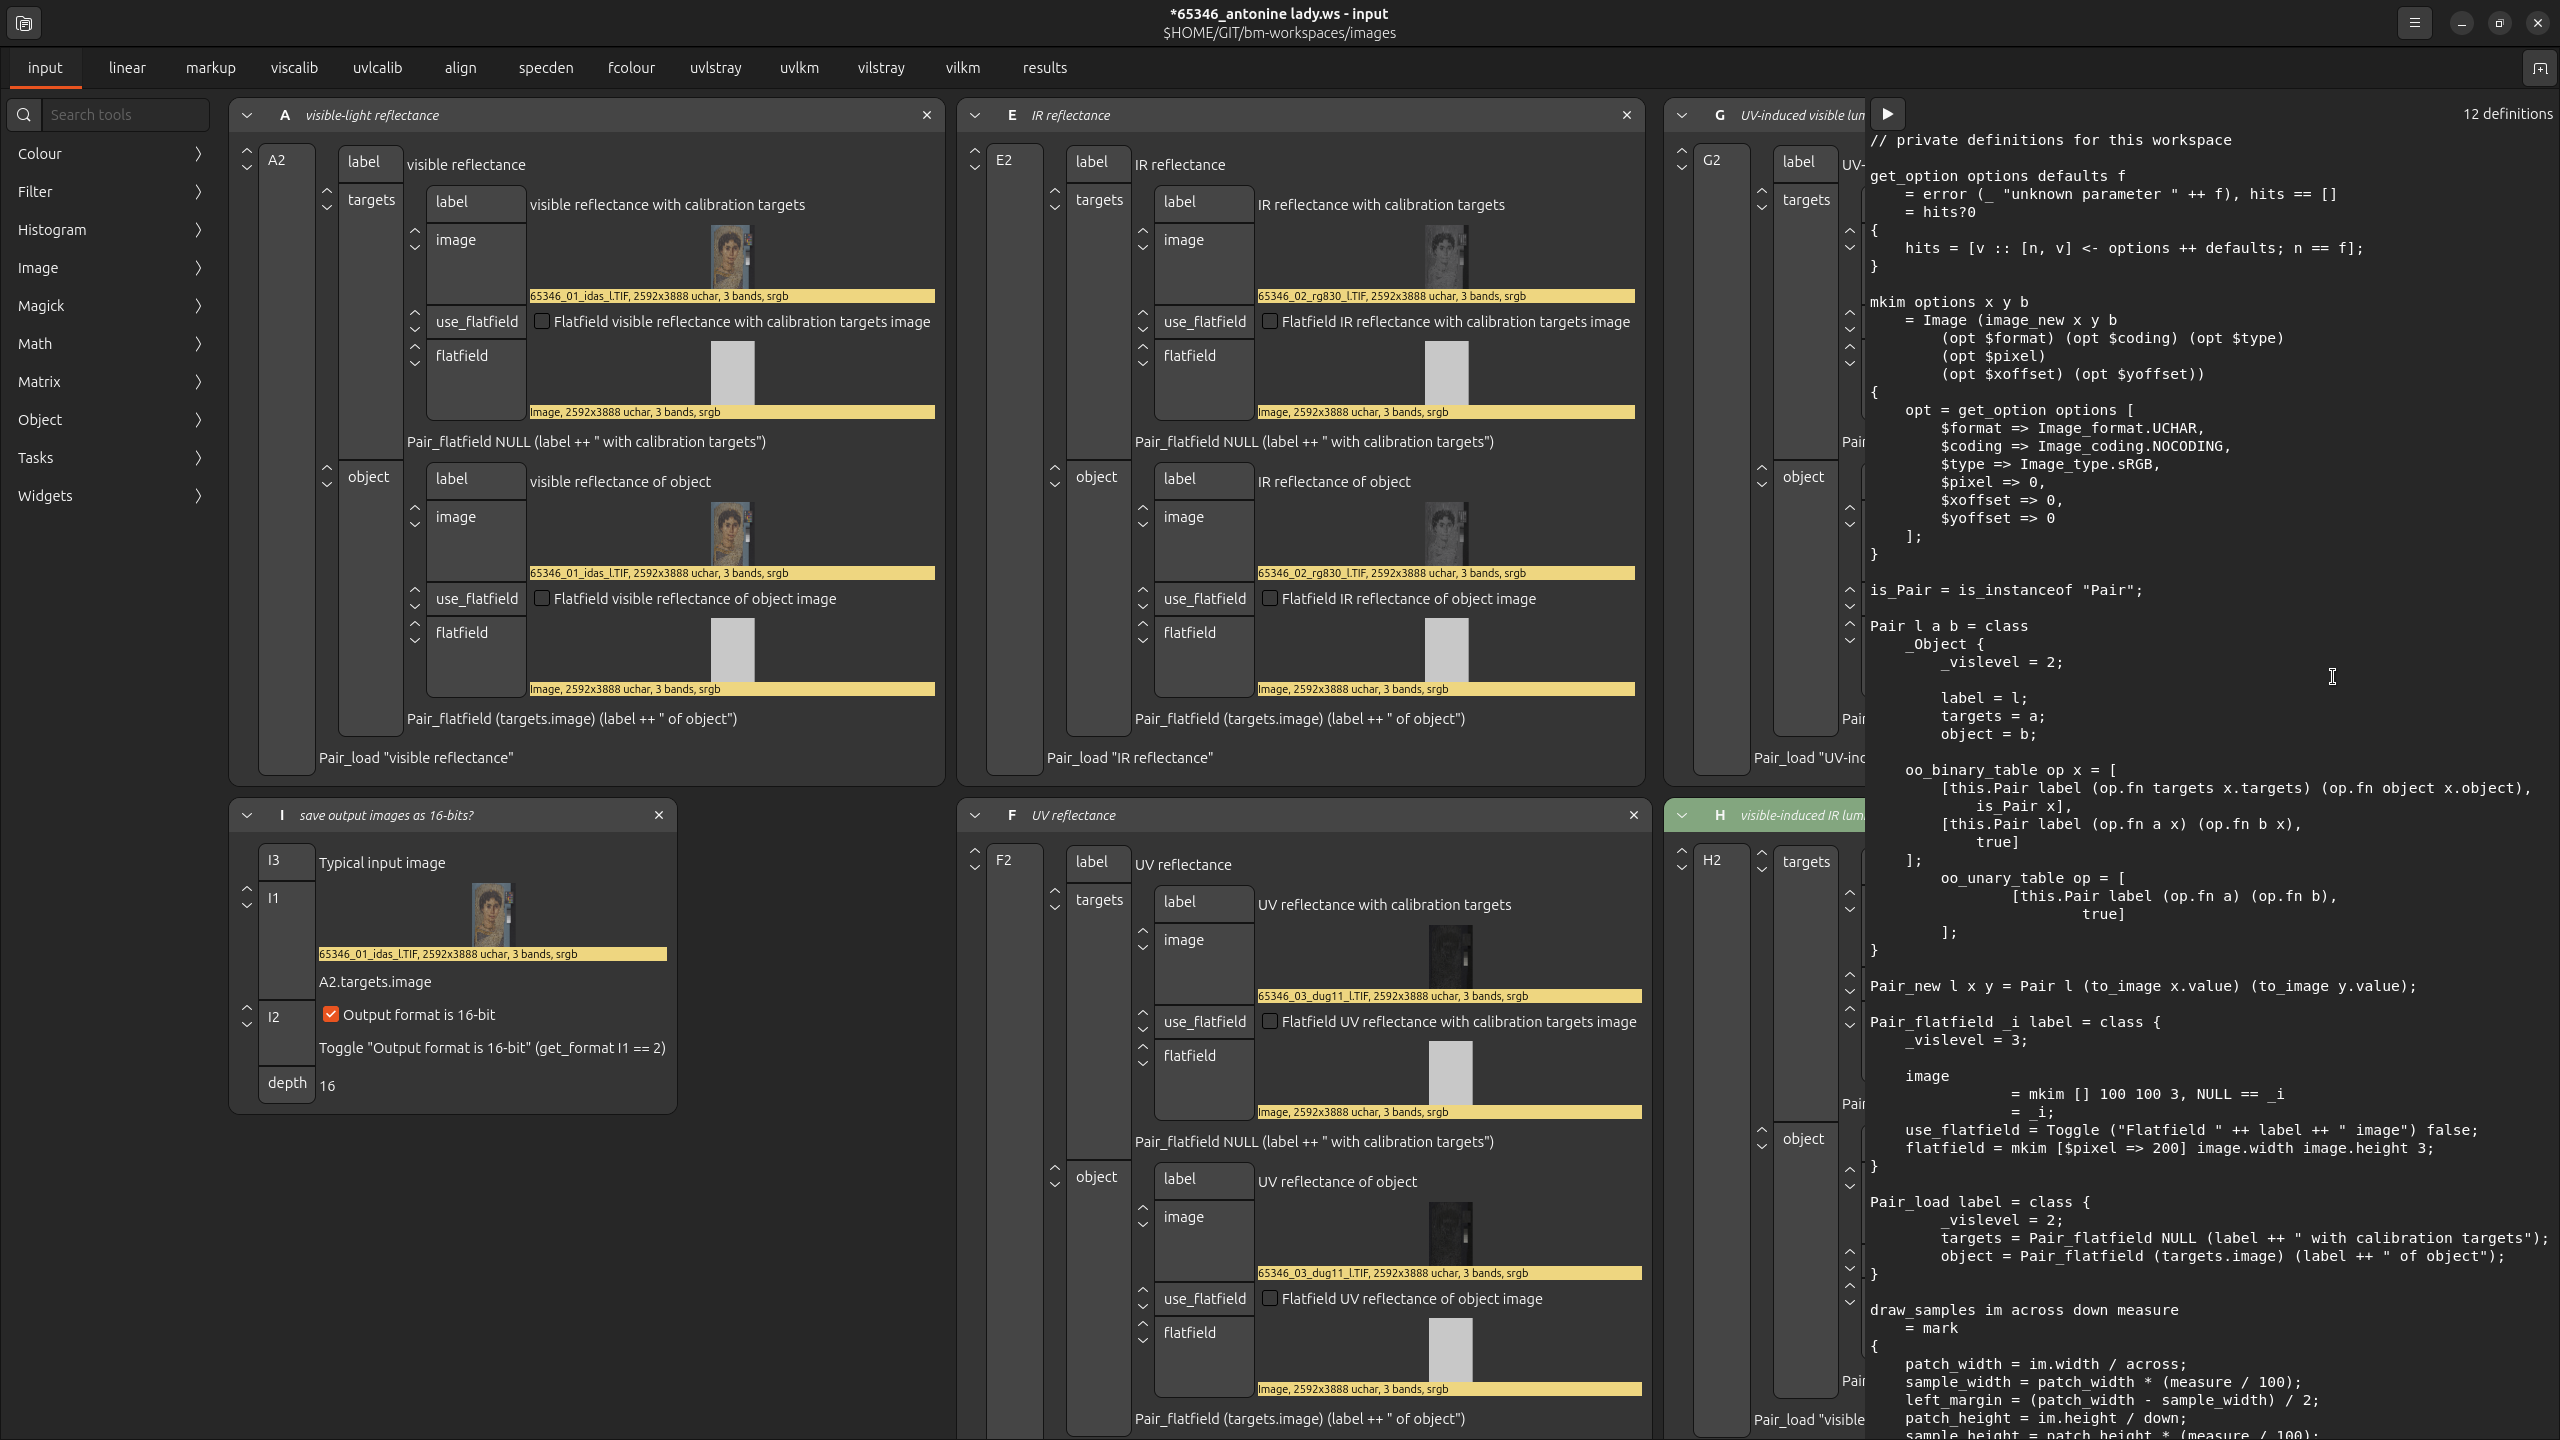
Each tab can have a set of private definitions in nip4’s programming language. Right-click on the workspace background and select Workspace Definitions.
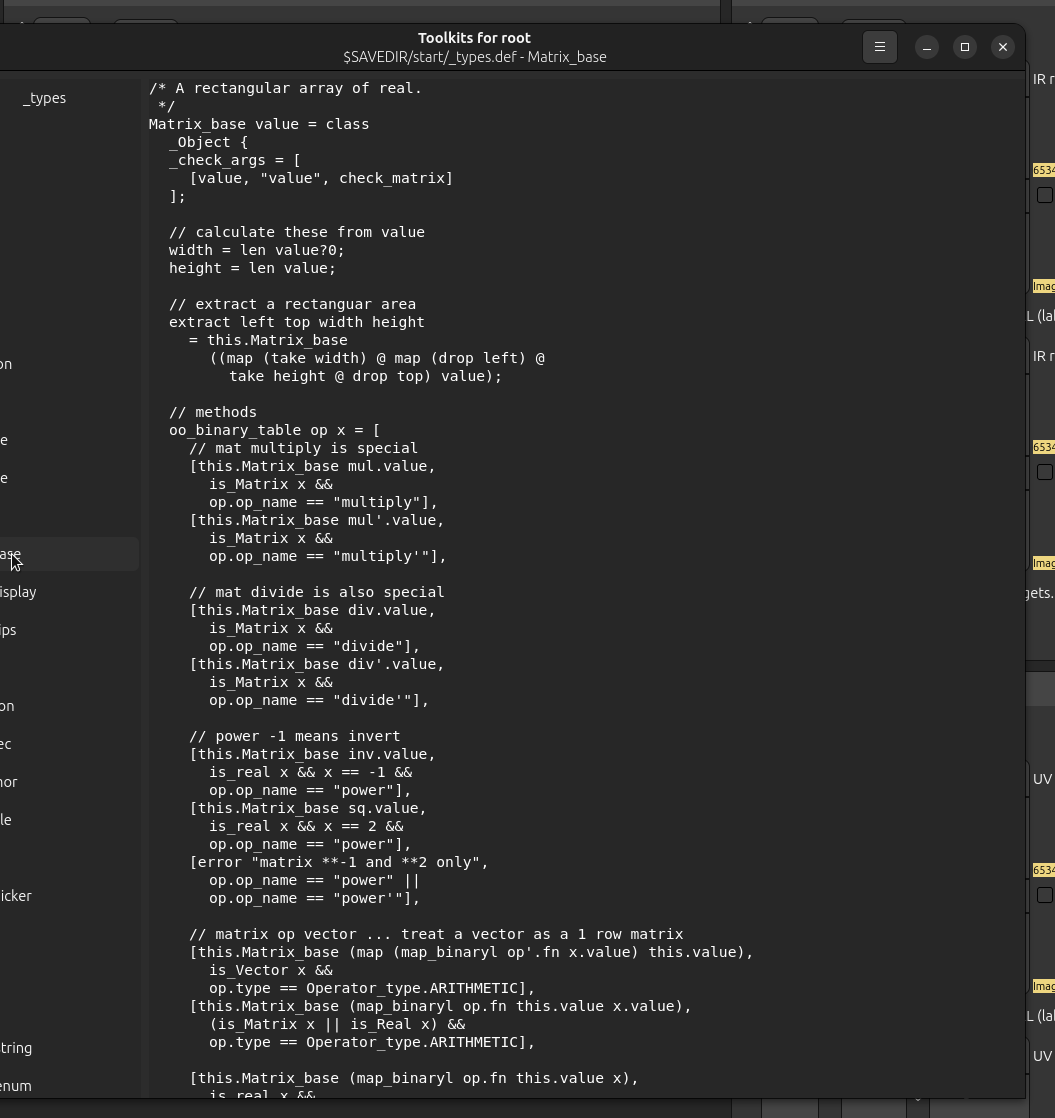
All the tools and toolkits are implemented in this language too. Right-click on the workspace background and select Edit Toolkits to change them. You can write your own tools and toolkits.
You can select many rows and group them. When you perform an operation on a group, it’ll automatically operate on every row in the group.
Once you’ve set up a pipeline, you can open the image view window of the first
image and use the < and > buttons in the titlebar to step though all the
other images in the same directory.